Construction Punch List Automation Guide | Projul
Construction Punch List Automation: How to Speed Up Your Final Walkthrough
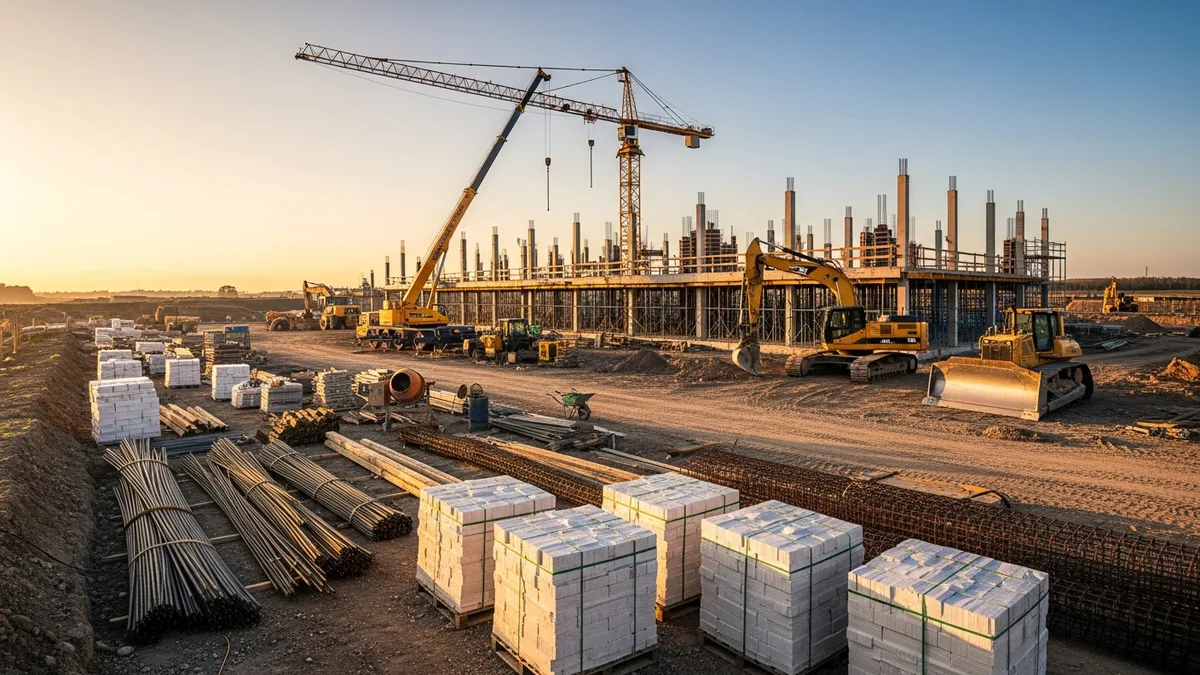
Every GC knows the feeling. The job is 98% done. The client is excited to move in. And then the final walkthrough turns into a two-week nightmare of scribbled notes, missed items, phone tag with subs, and a payment that sits in limbo while everyone argues about what’s actually finished.
The punch list phase shouldn’t be the most painful part of a project. But for a lot of contractors, it is. And it doesn’t have to be.
If you’re still managing punch lists on paper, in spreadsheets, or through a chain of text messages, you’re leaving money on the table and burning hours you don’t have. Automating this process isn’t about chasing shiny tech for the sake of it. It’s about getting paid faster, reducing callbacks, and closing out projects without losing your mind.
Let’s talk about what punch list automation actually looks like on a real jobsite, and how to make it work for your crew.
Why the Traditional Punch List Process Is Broken
Here’s how it usually goes. You walk the job with the owner or architect. Someone writes down a list of items on a legal pad or a printed form. Maybe you take some photos on your phone. You get back to the office, type it all up, and send it out to your subs. Then you wait.
A week later, you’re chasing down three different subs who all claim they never got the list. One guy fixed two items but missed the third. Another one showed up, couldn’t find the problem, and left. The painter says the drywall guy needs to go first. Nobody knows what’s done and what’s still open.
Sound familiar?
The traditional punch list process breaks down for a few predictable reasons:
Information gets lost in translation. Handwritten notes are hard to read. Photos sit on someone’s camera roll with no context. By the time the list reaches the sub who needs to do the work, half the detail is gone.
There’s no single source of truth. The superintendent has one version, the project manager has another, and the owner has a third. Everyone is working from different information, and nobody knows the real status.
Follow-up is manual and painful. You’re spending hours every week calling, texting, and emailing subs about items that should have been done days ago. Every open item requires you to personally track it down.
It delays your final payment. The longer punch list items stay open, the longer your retainage sits with the owner. On a million-dollar job, that’s real money collecting dust while you’re footing payroll for the next project.
If you’ve read our construction punch list guide, you already know the basics of running a good punch list. But knowing the process and actually executing it efficiently are two different things, especially when you’re juggling multiple projects.
What Punch List Automation Actually Means
Let’s clear something up. “Automation” doesn’t mean a robot walks your jobsite and finds deficiencies for you. Not yet, anyway.
In practical terms, punch list automation means using digital tools to handle the repetitive, error-prone parts of the process so you can focus on the parts that actually need your brain.
Here’s what that looks like:
Digital capture during the walkthrough. Instead of scribbling on paper, you tap items into your phone or tablet as you walk the job. Each item gets a photo, a location, a description, and an assigned sub, all in about 15 seconds. No transcription needed later.
Automatic notifications. The moment you assign an item to a sub, they get a notification. No phone call, no email chain, no “I never got the list” excuses. They can see exactly what needs to be done, with photos and notes, on their phone.
Real-time status tracking. As subs complete items, they mark them done and attach a photo showing the finished work. You can see the status of every item on every project from your truck, your office, or your couch.
Automatic follow-up. Items that sit open past their due date trigger reminders automatically. You’re not spending your Friday afternoon making a call list. The system does it for you.
Closeout documentation. When everything is done, you’ve got a complete, timestamped record of every item: when it was identified, who was assigned, when it was completed, and photos of the before and after. That’s your backup if anyone questions the work six months from now.
This is the kind of workflow you can build with a good to-do and task management system designed for construction. The key is that it’s built for how we actually work in the field, not adapted from some office software that doesn’t understand jobsite conditions.
The Real Cost of Slow Closeouts
Most GCs don’t sit down and calculate what slow closeouts are actually costing them. When you do the math, it’s ugly.
Retainage delays. If you’re holding 5 to 10% retainage on a project, every week of delayed closeout is a week you’re not collecting that money. On a $2 million job with 10% retainage, that’s $200,000 sitting on someone else’s books.
Repeated site visits. Every time you or your super drives back to a “finished” job to check on punch list items, that’s fuel, time, and wear on your truck. Three or four extra trips per project adds up fast across a year of work.
Sub coordination overhead. The phone calls, texts, and emails you send chasing down open items aren’t free. Your time has a dollar value, and spending it on administrative follow-up instead of running your next project is a direct hit to your bottom line.
Client satisfaction. Owners talk to each other. A slow, messy closeout process makes you look disorganized, even if the actual construction work was excellent. A clean, fast closeout leaves the kind of impression that generates referrals.
Warranty exposure. The longer punch list items drag on, the blurrier the line gets between punch list work and warranty claims. Get everything closed out quickly and documented clearly, and you’ve got a clean handoff that protects you down the road.
Our project closeout guide covers the full closeout process in detail, but the punch list is almost always the bottleneck. Fix the punch list, and the rest of closeout gets a lot easier.
How to Set Up an Automated Punch List Workflow
You don’t need to overhaul your entire operation overnight. Here’s a step-by-step approach that works for most GCs, whether you’re running residential remodels or mid-size commercial jobs.
Step 1: Pick the Right Tool
You need something that works on a phone in the field, doesn’t require a computer science degree to set up, and is built for construction. General project management apps designed for office workers won’t cut it. They don’t understand trades, they don’t handle photos well in low-connectivity areas, and your subs won’t use them.
Look for a tool where you can create items quickly, attach photos and documents, assign them to specific people, and track status. If you’re exploring options, our guide to construction mobile apps breaks down what to look for.
Step 2: Build Your Template
Don’t start from scratch on every project. Create a punch list template with common categories: paint touch-ups, hardware adjustments, cleaning, HVAC commissioning items, electrical trim, and so on. This gives you a starting framework for every walkthrough and makes sure you don’t miss entire categories.
Your template should also include standard assignment rules. If drywall repairs always go to the same sub, set that as the default. The less manual setup you need at walkthrough time, the faster you move.
Step 3: Capture Everything During the Walk
This is where the real time savings kick in. During the walkthrough, you and your super should be entering items directly into the system as you find them. Take a photo, add a quick note, assign it, and move on.
A good photo and document management system makes this painless. Snap the photo, and it’s automatically attached to the item with a timestamp and location. No more wondering which photo goes with which item when you’re back at the office.
Step 4: Notify and Set Deadlines
Projul is trusted by 5,000+ contractors. See their reviews to find out why.
As soon as the walkthrough is done, every sub should have their list with clear deadlines. With an automated system, this happens the moment you finish walking. No typing up notes, no sending emails, no delay.
Set realistic deadlines based on the scope of work. Minor touch-ups might be due in three days. Items that require material ordering might get a week. Be specific, and the system will handle the reminders.
Step 5: Track Completion and Verify
As subs complete items, they should be marking them done in the system with a completion photo. This gives you remote verification without driving back to the site for every little thing.
For critical items, you’ll still want to verify in person. But for the 80% of punch list items that are straightforward, a completion photo from a trusted sub is usually enough. That alone can save you multiple site visits per project.
Step 6: Close Out and Document
Once everything is verified complete, generate your closeout documentation. A good system gives you a complete record: every item, every photo, every date, every assignment. Hand that to the owner with your final payment request, and you’ve made it very easy for them to release retainage.
This documentation also protects you if disputes come up later. “The paint in the master bedroom was never finished” is a lot harder to argue when you’ve got timestamped photos of the completed work signed off by the homeowner.
Getting Your Team to Actually Use It
This is where most technology adoption efforts die. The tool works great in a demo. It makes perfect sense in a meeting. And then nobody uses it on the actual jobsite.
We’ve written extensively about construction tech adoption, and the lessons apply directly here. But let me give you the punch list-specific version.
Start with your superintendent, not your subs. Your super needs to own the process. If they’re bought in and using the tool during walkthroughs, the subs have to engage with it to get their assignments. It flows downhill.
Make it easier than the old way. If your digital process takes longer than the paper process, people will go back to paper. The tool needs to be genuinely faster and simpler for the person using it. Test this with real field conditions: bad cell service, gloves on, sun glare on the screen.
Don’t roll out everything at once. Start with basic item creation, photo attachment, and assignment. That’s it. Once people are comfortable with the basics, you can add due dates, automatic reminders, and reporting. Trying to use every feature on day one overwhelms people.
Show the wins early. After your first project with the new system, share the results. “We closed out in 8 days instead of our usual 3 weeks” is a compelling story. “We had zero callbacks on punch list items because every sub had photos of exactly what needed to be done” is even better.
Make it the only option. Once you’ve proven the system works, stop accepting paper punch lists. If a sub wants work from you, they use the system. Period. This sounds harsh, but it’s the same as requiring insurance certificates or signed contracts. It’s just how you do business.
Following punch list best practices becomes a lot easier when the tool enforces the process. You don’t have to remember to follow up because the system does it. You don’t have to remember to take photos because the workflow prompts you to. The technology turns best practices into default behavior.
What Good Looks Like: A Punch List Automation Success Story
Let me paint a picture of what this looks like when it’s working well.
It’s Thursday morning. You’re wrapping up a 4,200 square foot custom home. The owner and their designer are meeting you at 9 AM for the final walkthrough.
You pull up the project on your tablet. The pre-punch list your super ran last week shows 47 items. 41 are already marked complete with photos. Six are still open, and you can see exactly which subs are assigned and when they’re scheduled to finish.
During the walkthrough, the owner points out 12 additional items. You enter each one on the spot: a scuff on the hallway baseboard, a cabinet door that’s slightly off, a grout line in the master bath that needs touch-up, and so on. Each item gets a photo and a note. You assign them to the right subs as you go.
By the time the walkthrough is done, every sub already has their list on their phone. The trim carpenter gets a notification with three items and photos. The tile guy gets one item. The painter gets four. Each one knows exactly what to do, where to do it, and when it needs to be done.
Over the next five days, items start getting checked off. You can see the progress from your office without making a single phone call. When the painter marks his items complete, you check the photos and approve them. The cabinet guy uploads a photo showing the adjusted door, and it looks good.
By Tuesday, every item is complete and verified. You generate a closeout report showing all 59 items (the original 47 plus the 12 from the walkthrough) with completion dates and photos. You send it to the owner with your final invoice.
The owner releases retainage on Wednesday. Total closeout time from walkthrough to final payment: six days.
Now compare that to the old way. Handwritten notes from the walkthrough that take a day to type up. Phone calls to subs that take another two days before everyone has their list. Two weeks of chasing. A second walkthrough because five items were missed. Another week. Final payment arrives a month after the walkthrough, if you’re lucky.
That’s not a hypothetical comparison. That’s the difference contractors actually see when they move from manual to automated punch list management.
Making the Switch
If you’re convinced that automating your punch list process makes sense (and if you’ve read this far, you probably are), here’s your action plan:
This week: Pick your next project as a pilot. Choose something manageable, not your biggest or most complex job.
Before the walkthrough: Set up your punch list template. Create categories for the common trades on the job. Set up your sub contacts so assignments are quick.
During the walkthrough: Use the digital tool instead of paper. It’ll feel slower the first time. That’s normal. By the second walkthrough, you’ll be faster than you ever were with a notepad.
After the walkthrough: Let the system work. Watch the notifications go out, the reminders fire, and the items get completed. Resist the urge to also call every sub. Trust the process for one project.
At closeout: Generate your documentation and send it with your final invoice. Note how long the process took compared to your last project.
After the pilot: Debrief with your team. What worked? What didn’t? Adjust and roll it out to all projects.
The construction industry has been slow to adopt technology, and honestly, a lot of that is because the technology wasn’t built for us. Generic tools designed for desk jobs don’t work when you’re standing in a half-finished building with dusty hands and spotty cell service.
But the tools have caught up. Construction-specific platforms like Projul are built for exactly this kind of field work. They’re designed by people who understand that your “office” is a truck cab, your “desk” is a sawhorse, and your “keyboard” is a cracked phone screen.
The contractors who are closing out projects in days instead of weeks aren’t smarter or more organized than you. They just stopped doing manually what a tool can do automatically. That’s all punch list automation really is: letting the boring, repetitive stuff happen on its own so you can focus on building.
Want to put this into practice? Book a demo with Projul and see the difference.
Your next walkthrough doesn’t have to be the start of a month-long headache. It can be the start of a six-day closeout. The only thing standing between those two outcomes is the decision to try something different.
Frequently Asked Questions
What is punch list automation in construction?
How much time can automated punch lists save during closeout?
Can I use punch list automation on small residential projects?
What features should I look for in a punch list automation tool?
How do I get my subcontractors to adopt digital punch lists?
Related Articles

Construction Technology Trends 2026: What Contractors Need to Know
Construction technology trends 2026 are reshaping how contractors schedule, estimate, and manage projects. Here's what...
Read More →
Construction ERP vs Project Management Software: What Do You Actually Need?
ERP or project management software? Here's how to figure out which one your company actually needs.
Read More →
Construction Estimating Software: What to Look For and Why Spreadsheets Fall Short
Why spreadsheets are costing you bids and what good estimating software actually looks like.
Read More →