Sewer Line Replacement Guide: Traditional vs Trenchless Methods for Contractors | Projul
Sewer line replacement is one of those jobs where picking the wrong method can cost you tens of thousands of dollars in extra work. Whether you are replacing a residential lateral or rehabbing a municipal mainline, the decision between traditional open-cut and trenchless methods comes down to site conditions, pipe condition, and what makes financial sense for the project.
This guide breaks down both approaches so you can make the right call on your next sewer job.
Understanding Sewer Line Failures
Before you can pick a replacement method, you need to understand why sewer lines fail. The failure mode tells you a lot about which repair approach will work.
Common Failure Types
Root intrusion is the number one problem with clay and concrete sewer pipes. Tree roots find their way into pipe joints, grow inside the line, and eventually crack the pipe from the inside out. You will see this on camera as roots hanging from the crown of the pipe, sometimes filling the entire cross-section.
Joint separation happens when the ground shifts, settles, or erodes around the pipe. The joints pull apart, creating gaps where soil and water enter the line. On camera, you will see offset joints where one section of pipe no longer lines up with the next.
Pipe collapse is the most severe failure. The pipe wall has broken down and the surrounding soil has filled the void. You cannot line a collapsed pipe because there is no pipe left to line. This requires either open-cut replacement or pipe bursting.
Bellies and sags occur when sections of pipe settle lower than the surrounding grade. Solids collect in the low spots and the line backs up. Minor bellies can sometimes be addressed with lining, but severe sags usually need excavation to re-establish proper grade.
Corrosion affects cast iron and ductile iron pipes, especially in acidic soil conditions or where hydrogen sulfide gas is present. The pipe wall thins until it perforates or collapses.
Camera Inspection: The Starting Point for Every Job
A sewer camera inspection is not optional. It is the first step on every single sewer replacement project, no exceptions.
What the Camera Tells You
A quality camera inspection gives you the pipe material, interior diameter, the location and condition of every joint, the position and type of every service lateral connection, and the exact nature and location of every defect.
Modern camera systems include a sonde (locating transmitter) built into the camera head. As you push the camera through the line, your locator can mark the surface position and depth of the camera at any point. This data is critical for planning access pits for trenchless work or trench lines for open-cut jobs.
NASSCO PACP Coding
If you are doing municipal or commercial work, you should be coding your inspections to NASSCO PACP (Pipeline Assessment Certification Program) standards. PACP coding assigns standardized defect codes and severity grades to every observation. This gives engineers and owners a consistent, objective assessment of pipe condition.
Even on residential work, using a standardized inspection report makes your proposals more professional and defensible. When a homeowner questions why they need a $15,000 pipe replacement, showing them coded camera footage with labeled defects is a lot more convincing than saying “your pipe is bad.”
Pre and Post-Construction Inspection
Always run the camera before and after the work. The pre-construction run defines the scope. The post-construction run proves the quality of your installation. Keep both recordings on file. If there is ever a warranty claim or a dispute about the quality of work, those recordings are your protection.
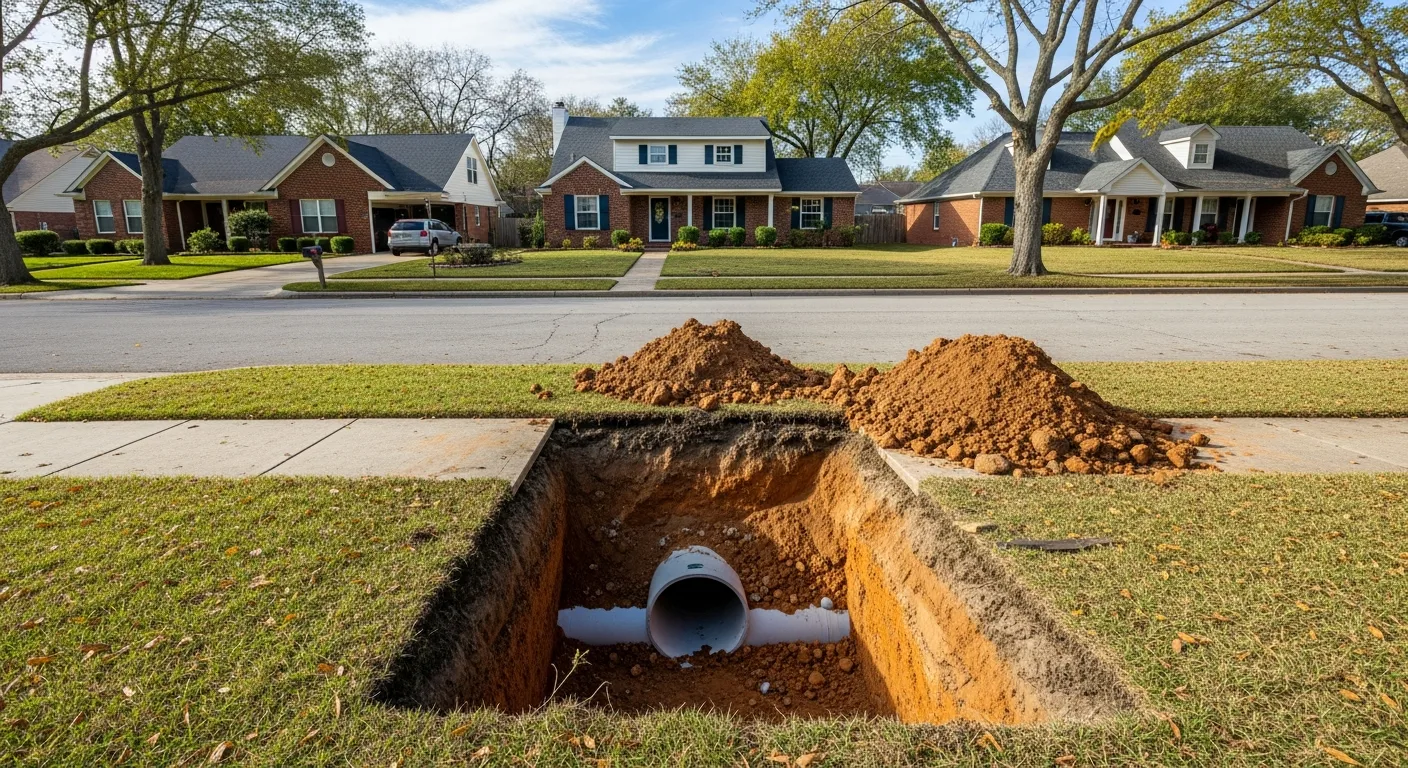
Traditional Open-Cut Sewer Replacement
Open-cut replacement is exactly what it sounds like. You dig a trench, remove the old pipe, lay new pipe, backfill, and restore the surface.
When Open-Cut Makes Sense
Open-cut is the right choice when:
- The pipe has completely collapsed and there is nothing left to burst or line
- The pipe has severe bellies that need grade correction
- The line runs through open ground where excavation is easy and surface restoration is simple
- You need to upsize the pipe significantly (going from 4-inch to 6-inch, for example)
- The depth is shallow enough that shoring costs are minimal
- Access for trenchless equipment is limited or impossible
Open-Cut Process
Locate all utilities. Call 811 and get your locate tickets. On residential work, remember that private utilities (irrigation, landscape lighting, invisible fence) are not marked by 811. Use your own locating equipment or hire a private locator.
Excavate the trench. Depending on depth, you may need trench boxes, hydraulic shoring, or sloping. OSHA requires protective systems for any trench 5 feet deep or more. Many sewer lines run 6 to 12 feet deep, so shoring is almost always needed.
Remove the old pipe. Break out and remove the existing pipe in sections. Separate materials for proper disposal. Clay and concrete pipe can often go to a clean fill site. Cast iron may have scrap value.
Prepare the bedding. Lay a minimum 4-inch bed of granular material (pea gravel or crushed stone) under the new pipe. This provides uniform support and prevents point loading on the pipe.
Install new pipe. Lay the new pipe to grade, typically SDR-35 PVC for gravity sewers or SDR-21 for pressure applications. Make connections at both ends and to any service laterals.
Backfill in lifts. Backfill with approved material in 12-inch lifts, compacting each lift to 95% standard Proctor density. Under roads or structures, you may need controlled density fill (flowable fill) instead of compacted backfill.
Restore the surface. Replace whatever you dug through: pavement, sidewalk, landscape, irrigation. This is often the most expensive single line item on an open-cut job.
Open-Cut Challenges
The biggest challenge with open-cut work is surface restoration. Replacing a sewer line that runs under a driveway, through a landscaped yard, or under a street adds significant cost and time to the project. You also have to deal with dewatering if the trench is below the water table, traffic control if you are in the right-of-way, and utility crossings that need to be supported during excavation.
Trenchless Method 1: Pipe Bursting
Pipe bursting replaces the old pipe by pulling a new HDPE pipe through the existing line while simultaneously breaking the old pipe outward into the surrounding soil.
How Pipe Bursting Works
A bursting head (an expander cone) is attached to the front end of the new HDPE pipe. A pulling cable or rod runs from the bursting head, through the existing pipe, to a pulling machine at the other end. The pulling machine draws the bursting head through the old pipe, fracturing it outward, while the new pipe follows directly behind.
You need two access pits: one at each end of the run. These pits are typically 4 feet by 6 feet and need to be deep enough to provide a straight pull through the existing pipe alignment.
Pipe Bursting Advantages
- Minimal surface disruption. You only dig two pits instead of an entire trench.
- Speed. A typical residential lateral can be burst and replaced in a single day.
- Seamless pipe. HDPE pipe is fused together on site, creating a monolithic, joint-free line with zero infiltration points.
- Can upsize. You can typically go one pipe size larger than the existing pipe (4-inch to 6-inch, for example).
- Works in most soil conditions. The displaced pipe fragments push into the surrounding soil without difficulty in most cases.
Pipe Bursting Limitations
- Cannot correct grade problems. The new pipe follows the alignment of the old pipe. If the old pipe has a belly, the new pipe will have the same belly.
- Service lateral reconnection. Every service connection must be excavated and reconnected after the burst. On mainline projects, this can add significant cost.
- Not suitable for severely deteriorated pipe in soft or saturated soil. If the old pipe has disintegrated and the soil has filled the void, there may not be enough remaining pipe to guide the bursting head.
- Limited by bends. Pipe bursting works best on straight runs. Significant bends in the existing line can cause the bursting head to track off-line.
Pipe Bursting Equipment
The basic equipment package includes a hydraulic pulling machine (rated for the pipe size you are bursting), bursting heads in various sizes, HDPE pipe and a butt fusion machine, pulling rods or cables, and a pit shoring system. This is a significant equipment investment, typically $80,000 to $150,000 for a complete setup. Many contractors start by subbing out the bursting work and investing in their own equipment as volume justifies it.
Trenchless Method 2: CIPP Lining
Cured-in-place pipe (CIPP) lining installs a new pipe inside the existing pipe without removing or disturbing the old line at all.
How CIPP Lining Works
A flexible felt or fiberglass tube is saturated with a thermosetting resin (epoxy, polyester, or vinyl ester). The saturated liner is inverted or pulled into the existing pipe, inflated against the pipe wall, and then cured using hot water, steam, or UV light. When the resin hardens, you have a smooth, seamless, structural pipe lining that is essentially a new pipe inside the old one.
CIPP Advantages
- Zero excavation in many cases. If you can access the pipe through an existing cleanout or manhole, you may not need to dig at all.
- Preserves surrounding infrastructure. No disruption to roads, sidewalks, landscapes, or structures above the pipe.
- Excellent for root intrusion repair. The seamless liner eliminates all joint gaps where roots enter.
- Fast cure times. UV-cured liners can be ready for service in hours. Steam and hot water cured liners typically take 4 to 8 hours.
- Minimal diameter reduction. A typical liner reduces the pipe interior diameter by about 6mm, which has negligible effect on flow capacity because the smooth liner surface reduces friction compared to the rough interior of an old clay or concrete pipe.
CIPP Limitations
- Cannot fix collapsed pipes. You need a reasonably intact pipe to serve as the host for the liner. If the pipe has collapsed, lining is not an option.
- Cannot correct grade. Like pipe bursting, the liner follows the existing alignment.
- Lateral reinstatement. Service connections buried under the liner must be reopened using a remote cutting robot after the liner is cured.
- Diameter reduction. While typically negligible, lining reduces the interior diameter. On already-undersized pipes, this can be a concern.
- Temperature sensitivity during installation. Resin pot life and cure times are affected by ambient and groundwater temperatures. Cold weather installations require careful planning.
Quality Control for CIPP
Proper quality control is critical for CIPP work. At minimum, you should verify resin mix ratios and wet-out quality before installation, monitor cure temperatures throughout the cure cycle, measure wall thickness of the finished liner (typically by cutting coupons at the ends), and run a post-installation camera inspection to verify the liner is smooth, fully cured, and free of defects.
On municipal and commercial projects, you may also need to provide test samples (flat plate specimens cured alongside the liner) for independent lab testing of flexural strength and modulus.
Making the Right Choice: Decision Framework
Here is a practical decision framework for choosing between methods:
Choose Traditional Open-Cut When:
- The pipe is completely collapsed
- Grade correction is needed
- The pipe is shallow (under 4 feet) and in open ground
- You need to significantly upsize the pipe
- Access for trenchless equipment is restricted
- Surface restoration costs are low (open field, gravel, etc.)
Choose Pipe Bursting When:
- The pipe is cracked, separated, or root-infested but still has a defined bore
- The line runs under pavement, structures, or landscaping
- You want to upsize by one pipe size
- The run is relatively straight
- Speed is important
Choose CIPP Lining When:
- The pipe is structurally sound but has joint infiltration, root intrusion, or minor cracks
- Zero excavation is the goal
- The pipe runs under critical infrastructure
- You are rehabilitating a long run with multiple service connections
- The project is a municipal or commercial mainline rehab
Estimating and Bidding Sewer Replacement Work
Accurate estimating on sewer work requires detailed information from the camera inspection. Without it, you are guessing.
Key Cost Factors
Pipe depth is the single biggest cost driver for open-cut work. Deeper pipes mean more excavation, more shoring, more backfill, and higher risk. A 4-foot deep sewer line and a 12-foot deep sewer line are completely different jobs.
Pipe material and condition determine the difficulty of removal (open-cut) or the feasibility of trenchless methods. Cast iron pipe is harder to burst than clay. Collapsed pipe eliminates lining as an option.
Surface conditions drive restoration costs. Replacing a sewer under a concrete driveway costs a lot more than replacing one through a grass yard.
Service lateral connections add cost to every method. Each lateral connection on a mainline burst needs an excavation pit and a reconnection. Each lateral on a lined section needs robotic reinstatement.
Access and staging affect equipment mobilization costs. Trenchless equipment needs room to set up. If the only access is through a narrow side yard, you may need smaller equipment or a different approach entirely.
Using Project Management Software
Sewer replacement projects involve a lot of moving parts: camera inspections, locate tickets, permits, equipment scheduling, material orders, subcontractor coordination, and inspection hold points. Keeping all of this organized in spreadsheets or on paper is a recipe for missed steps and costly delays.
Construction project management software like Projul keeps everything in one place. You can track each phase of the job, attach camera inspection reports and videos to the project file, schedule crews and equipment, manage material orders, and keep a complete record of the work for warranty purposes.
If you are running multiple sewer replacement projects at once, having a system that lets you see the status of every job at a glance is worth its weight in gold. Check out Projul’s pricing or request a demo to see how it fits your operation.
Safety Considerations
Sewer line work comes with specific safety hazards that you need to plan for.
Trench safety is non-negotiable. OSHA fines for trench violations are severe, and the consequences of a trench collapse are fatal. Use appropriate protective systems for every excavation over 5 feet deep.
Confined space entry applies to any work inside manholes or large-diameter pipes. You need a written confined space program, trained entrants and attendants, atmospheric monitoring, and rescue equipment.
Traffic control is required any time you are working in or near the road right-of-way. Follow your local jurisdiction’s traffic control manual and obtain the required permits.
Utility conflicts are always a concern on underground work. Verify the location of gas, electric, water, telecom, and any other utilities before you dig. Potholing (hand digging or vacuum excavation) at crossing points is cheap insurance against a catastrophic utility strike.
Hot work comes into play if you are fusing HDPE pipe. The butt fusion machine operates at temperatures above 400 degrees Fahrenheit. Keep a fire extinguisher nearby and maintain clear zones around the fusion equipment.
Getting Started with Trenchless
If you are currently an open-cut only operation and want to add trenchless capabilities, here is a practical path:
-
Start with camera inspection. Buy or lease a quality sewer camera and start running inspections on every sewer job. This builds your diagnostic skills and helps you identify which jobs are candidates for trenchless.
-
Sub out your first trenchless jobs. Find a reputable trenchless subcontractor in your area and sub them the pipe bursting or lining work. You manage the project, they do the specialty work. This lets you learn the process without a major equipment investment.
-
Invest in equipment when volume supports it. Once you are doing enough trenchless work to justify the equipment, invest in your own setup. Start with pipe bursting, which has a lower entry cost than CIPP lining.
-
Get trained. Both pipe bursting and CIPP lining require specific training. Equipment manufacturers offer training programs, and organizations like NASSCO offer certification courses for CIPP installation and inspection.
-
Market your capabilities. Trenchless methods are a strong selling point, especially for residential customers who do not want their yards torn up. Make sure your website, proposals, and marketing materials highlight your trenchless capabilities.
Wrapping Up
Sewer line replacement is a bread-and-butter service for plumbing and utility contractors. Having both traditional and trenchless methods in your toolkit lets you match the right technique to each job, which means better results for your customers and better margins for your business.
The key is always starting with a thorough camera inspection, understanding the condition and alignment of the existing pipe, and choosing the method that fits the specific conditions of that job. There is no single “best” method. There is only the right method for each situation.
Whatever approach you choose, keeping your projects organized and your documentation tight is what separates the contractors who grow from the ones who stay stuck. A good project management system makes that a lot easier. See what Projul can do for your operation.
Frequently Asked Questions
What is trenchless sewer line replacement?
How much does trenchless sewer replacement cost compared to traditional?
When should you use traditional open-cut sewer replacement?
How long does CIPP lining last?
Do you always need a camera inspection before sewer line replacement?
Can you use trenchless methods on clay or cast iron pipes?
What pipe materials are used in trenchless replacement?
How do you manage service laterals during trenchless sewer replacement?
Related Articles

Construction Punch List Software Comparison Guide: What Actually Matters
Not all punch list software is built the same. This guide breaks down what construction companies should actually look...
Read More →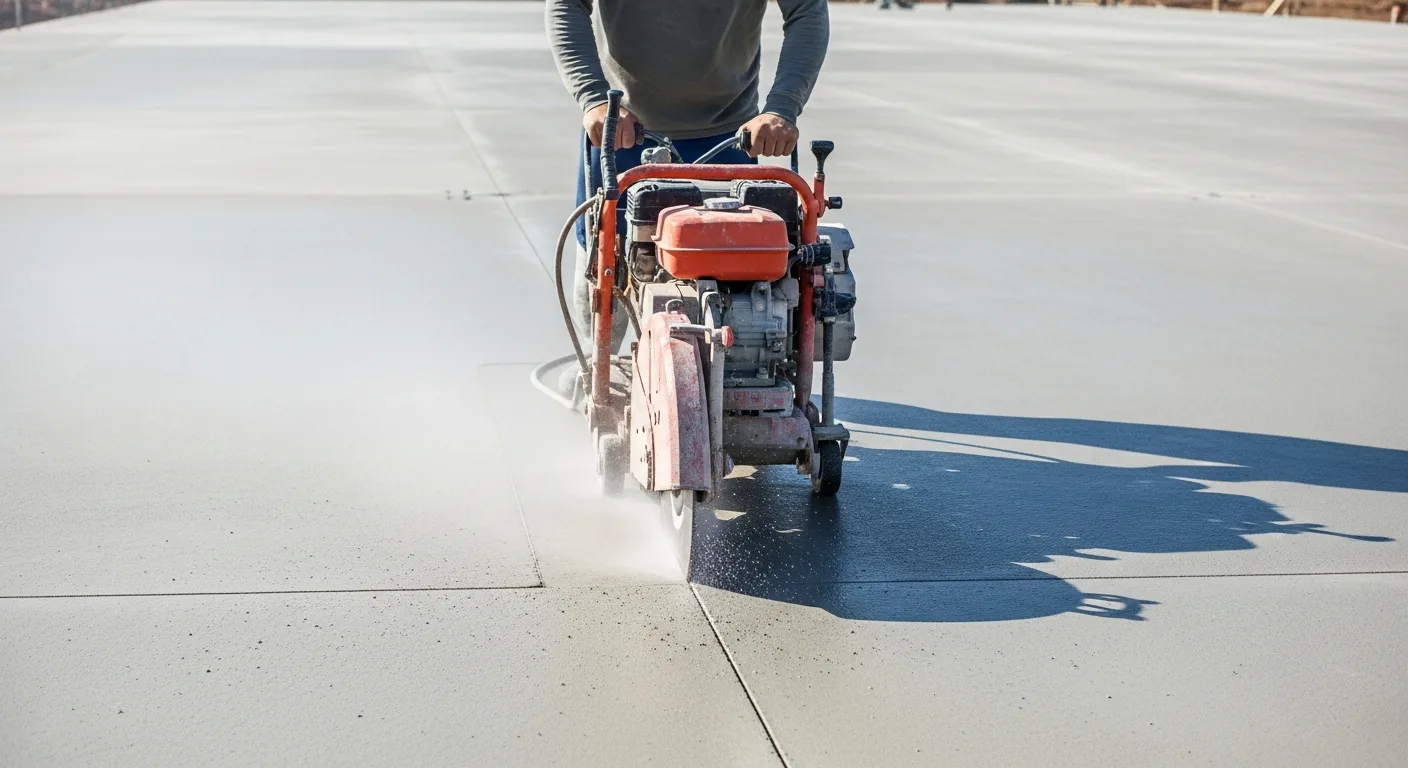
Concrete Saw Cutting Guide: Wet vs Dry, Blade Selection, Depth Control, and Joint Timing
Concrete saw cutting is one of those skills that separates a clean, professional slab from one that cracks in all the...
Read More →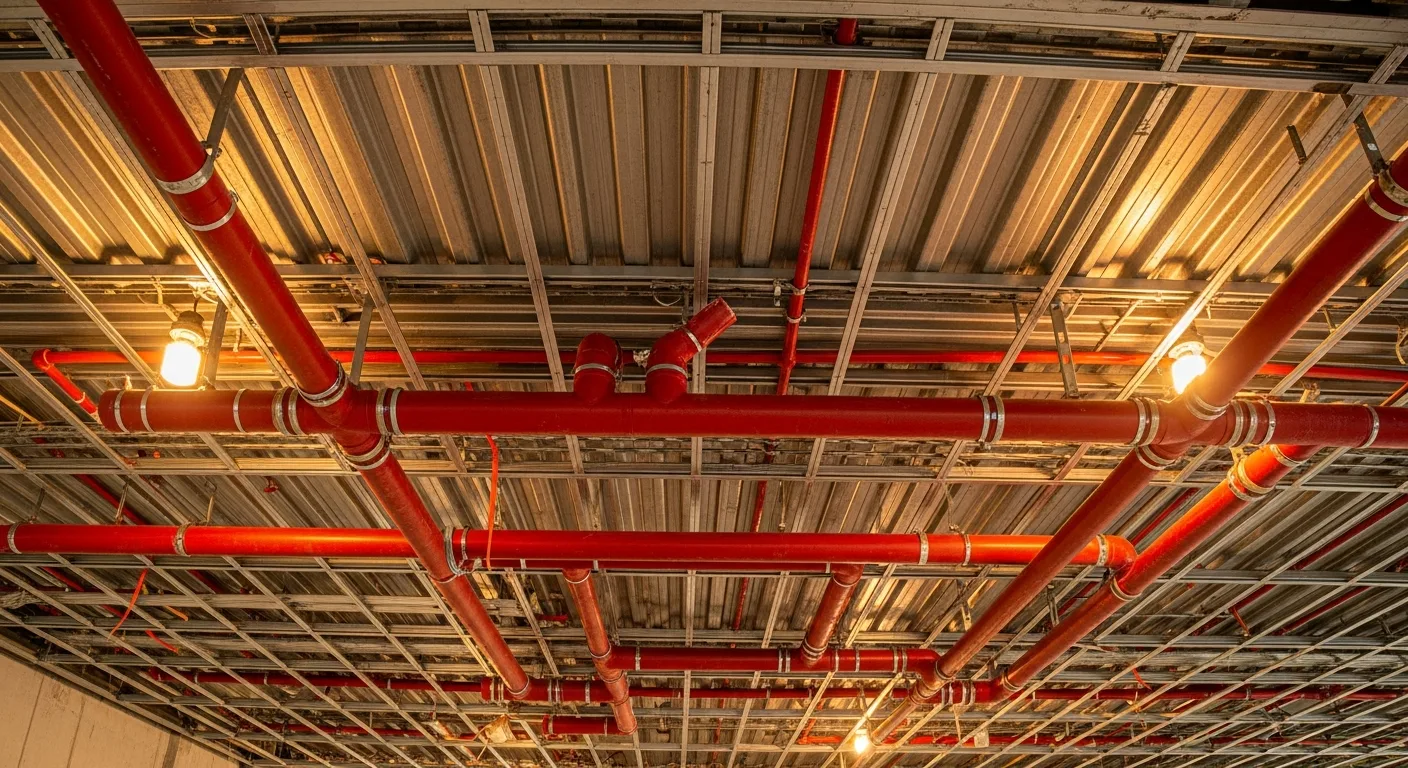
Fire Sprinkler System Installation: Wet vs Dry Systems, Pipe Sizing, and Code Requirements
Fire sprinkler systems are one of those building components that nobody thinks about until they are needed. But for...
Read More →