Siding Installation Management for GCs | Projul
Construction Siding Installation Management: What Every GC Needs to Know
If you have been running jobs for any length of time, you know that siding is one of those phases that looks simple on paper but gets complicated fast. You are coordinating material deliveries, weather windows, multiple subs, and a sequence that has zero tolerance for mistakes. Get it wrong and you are looking at water damage, warranty claims, and a callback list that never ends.
This guide breaks down what general contractors actually need to know about managing siding installation across the four most common cladding types: vinyl, fiber cement, wood, and metal. No theory. Just the stuff that matters when you are running the job.
Understanding the Four Main Cladding Types and When to Use Each
Not all siding is created equal, and picking the right material is half the battle. Each type has different labor requirements, lead times, and installation quirks that directly affect how you schedule and manage the project.
Vinyl siding is still the most common choice for residential work, and for good reason. It is affordable, widely available, and most siding crews can hang it quickly. A competent crew of three can side an average house in under a week. The catch is that vinyl has temperature limitations. Below 40°F it gets brittle, and cuts will crack instead of snapping clean. In hot weather it expands, so your crews need to leave proper gaps at joints. From a management standpoint, vinyl is the easiest to schedule because material is almost always in stock locally.
Fiber cement (James Hardie being the big name) has taken over a huge chunk of the market in the last decade. It looks great, holds paint well, and stands up to just about everything nature throws at it. But it is heavier than vinyl, which means your crews need to be set up for it. Cutting fiber cement generates silica dust, so respirators and proper dust collection are not optional. Lead times can be tricky, especially for specific colors and profiles. Plan on 2-4 weeks for most orders, longer for custom work. When you are putting together your project estimates, account for the higher labor cost per square compared to vinyl.
Wood siding (cedar, redwood, pine) is the traditional choice and still shows up on high-end residential and historic renovation projects. It looks beautiful, but it demands more from both the installer and the long-term maintenance plan. Wood needs to acclimate to the local humidity before installation. It requires back-priming (painting the back side before hanging) to prevent moisture absorption. And it needs proper ventilation behind it. If your siding sub skips any of these steps, you will hear about it in two years when boards start cupping and warping.
Metal siding and panels have moved beyond commercial and agricultural buildings into residential and mixed-use projects. Standing seam, corrugated, and flat-lock panels each have different installation methods and skill requirements. Metal work often requires specialized crews, and custom panels can have lead times of 4-8 weeks. The upside is that metal is incredibly durable and essentially maintenance-free once installed correctly.
The point here is simple: know your material before you build your schedule. Each one carries different implications for crew size, installation time, weather sensitivity, and material availability.
Sequencing Siding Within the Larger Build Schedule
Siding does not happen in a vacuum. It sits right in the middle of a chain of exterior trades, and getting the sequence wrong creates problems that ripple through the rest of the project.
Here is the order that works, and more importantly, why it works:
Step 1: Windows and doors first. Your siding crew cannot do their job until window and door installations are complete. Flashing details around openings need to be in place before cladding goes over them. If you have ever had a siding crew working around window installers on the same wall, you know how much time that wastes. Check out our window and door installation guide for more on getting that phase buttoned up before siding starts.
Step 2: Weather-resistant barrier (WRB) and flashing. Housewrap, building paper, or fluid-applied barriers all need to be installed and properly detailed before siding. This is where a lot of GCs get tripped up on scope. Is the WRB part of the framing sub’s scope? The siding sub’s scope? Your own crew’s scope? It needs to be one person’s job, clearly defined in writing. Gaps in the waterproofing system cause the most expensive problems in residential construction.
Step 3: Siding installation. Now your cladding crew comes in. They need clean walls, completed openings, and a WRB that has been inspected (either by you or your building inspector, depending on jurisdiction). Do not let siding start on walls where the WRB has been sitting exposed for months. UV degradation reduces its effectiveness, and most manufacturers put a 90-day exposure limit on their products.
Step 4: Painting or staining. If you are using fiber cement or wood that needs field painting, this comes after siding is up and all caulking is complete. Painting management on exteriors is weather-dependent, so build buffer into your schedule between siding completion and paint start.
Step 5: Trim details, gutters, and exterior fixtures. The final exterior pieces go on last.
Thousands of contractors have made the switch. See what they have to say.
The biggest scheduling mistake GCs make with siding is not building enough float between dependent trades. Your siding crew cannot start if windows are running two days late. And your painters cannot start if siding runs long. Build realistic buffers into your project schedule and communicate the sequence clearly to every sub on the job.
Managing Siding Subcontractors and Crew Coordination
Siding installation is almost always subcontracted work. That means your job as GC is coordination, quality control, and making sure the site is ready when the crew shows up.
Vetting your siding subs matters more than you think. A bad drywall job is fixable. Bad siding work leads to water intrusion, structural damage, and lawsuits. When you are evaluating siding contractors, look for crews that specialize in the specific material you are using. A vinyl crew is not automatically qualified to install fiber cement. A wood siding specialist may have never touched a standing seam metal panel. Ask for material-specific references and check them.
Scope definition is everything. Your subcontract agreement needs to spell out exactly what the siding sub is responsible for. Common gray areas that cause disputes:
- Who installs the WRB and window flashing?
- Who supplies and installs starter strips, J-channel, and trim?
- Who is responsible for caulking at penetrations and transitions?
- Who handles soffit and fascia, or is that a separate contract?
- What is the waste factor included in the bid, and who pays for overage?
Get these questions answered before the contract is signed. Not on the jobsite when the crew is standing around waiting for direction. Our subcontractor management guide goes deeper on structuring these relationships to avoid the common headaches.
Site readiness is your responsibility. When a siding crew shows up, they need:
- Scaffolding or lift access in place (unless they are providing their own)
- Material delivered and staged where they can reach it
- Walls prepped with WRB, flashing, and furring strips (if applicable)
- All penetrations (vents, hose bibs, electrical boxes) roughed in
- A clear path around the building perimeter
If any of these are missing, your siding crew is standing around on your dime. Or worse, they leave for another job and you are scrambling to get them back.
Daily check-ins during siding installation are not micromanaging. Walk the job every morning during siding work. Check that starter courses are level. Verify that flashing is lapped correctly at transitions. Make sure nailing patterns match manufacturer specs (this is especially critical for fiber cement and wood). Catching a problem on day one saves you from tearing off an entire wall on day five.
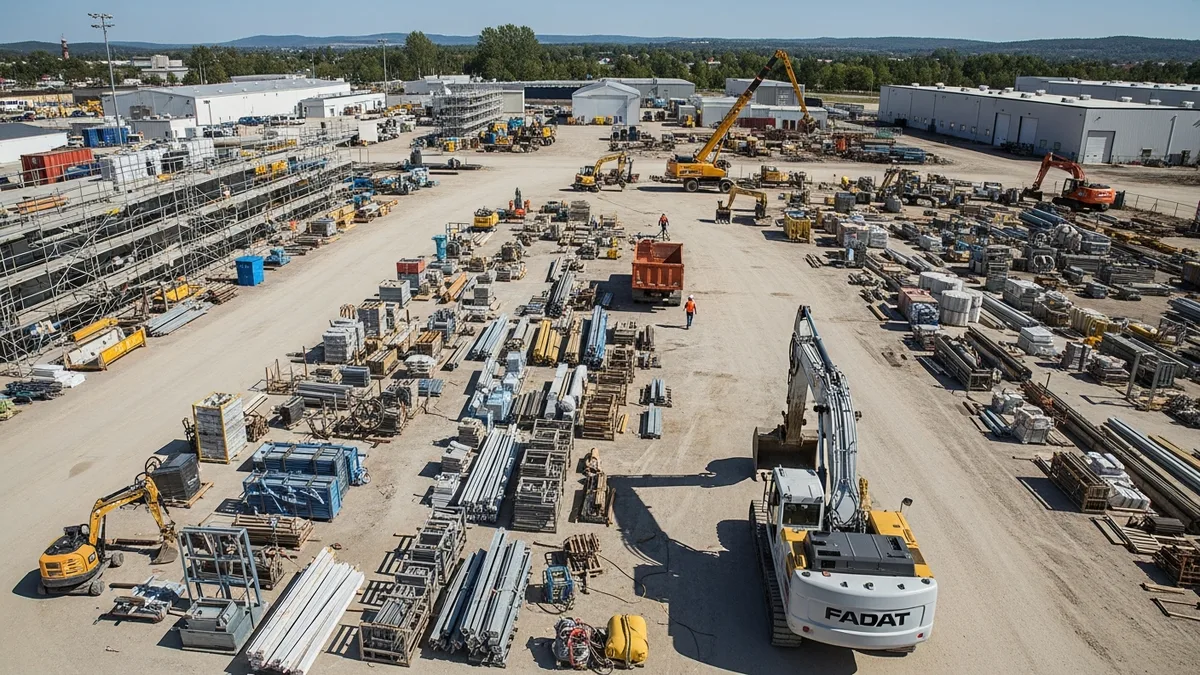
Material Procurement and Lead Time Management
Nothing kills a siding schedule faster than material that is not on site when the crew is ready to work. And yet, this is one of the most common problems GCs run into.
Order early and confirm everything. The day you lock in your siding sub, confirm material quantities and place the order. Do not wait until framing is done. Do not wait until the WRB inspection passes. Get the order in the pipeline immediately.
Here are realistic lead times to plan around:
- Vinyl: 3-7 days for standard colors and profiles. Specialty or premium lines may take 2-3 weeks.
- Fiber cement: 2-4 weeks for standard products. Pre-finished (ColorPlus or equivalent) can push to 4-6 weeks depending on season and demand.
- Wood: 1-3 weeks for common species and profiles from regional suppliers. Custom milling adds 3-6 weeks.
- Metal panels: 4-8 weeks for custom-fabricated panels. Stock corrugated or ribbed panels may be available in 1-2 weeks.
Always order 10-15% overage. Siding has waste. Cuts around windows, gable ends, inside corners, and odd angles all generate offcuts that cannot be reused. Running short on material mid-install is a nightmare, especially with fiber cement or metal where color matching between production runs is not guaranteed.
Stage materials properly on site. Vinyl and fiber cement need to be stored flat, off the ground, and protected from direct sun and moisture. Wood siding needs to acclimate to local conditions for at least 48-72 hours before installation, stored in a covered but ventilated area. Metal panels scratch easily, so they need careful handling and should stay in protective packaging until the crew is ready for each piece.
Track your deliveries against your schedule. If you are using construction scheduling software, tie your material delivery dates directly to your siding phase start date. When a delivery slips, your schedule updates automatically and you can get ahead of the problem instead of reacting to it on install day.
Weather Planning and Seasonal Considerations
Exterior work lives and dies by the weather forecast. Siding installation is no exception, and each material type has its own weather sensitivities that affect when and how work can happen.
Temperature matters more than most GCs realize. Vinyl siding installed in cold weather (below 40°F) will crack during cutting and can buckle when temperatures rise because the crew did not leave enough expansion gaps. Fiber cement adhesives, caulks, and touch-up paint all have minimum temperature requirements, usually around 40-50°F. Wood siding installed in very dry conditions will absorb moisture later and swell, popping nails and buckling at joints. For a deeper look at building weather into your project plans, check out our weather planning guide.
Rain is the obvious enemy, but humidity matters too. You cannot install siding in active rain for obvious reasons, but high humidity affects drying times for caulks, sealants, and any field-applied coatings. Wood siding is especially sensitive to moisture content at the time of installation. If the wood is too wet when it goes up, it will shrink as it dries and open gaps at every joint.
Wind is the underrated problem. Large siding panels, especially metal and 12-foot fiber cement planks, act like sails in high wind. Most experienced crews will not work with large panels when sustained winds exceed 20-25 mph. It is a safety issue first, but it also affects installation quality. Panels that are wrestled into place in gusty conditions do not sit flat and do not fasten properly.
Seasonal scheduling strategies that actually work:
- In northern climates, plan siding work for late spring through early fall. If you must work in winter, vinyl is a poor choice. Fiber cement with pre-finished color is more forgiving.
- In the South and Southwest, avoid scheduling siding during peak summer heat. Vinyl installed at 100°F will contract in winter and open gaps. Metal panels get dangerously hot to handle.
- In rainy climates (Pacific Northwest, Gulf Coast), build extra float into your siding schedule. You will lose days to weather. Accept it and plan for it instead of pretending every day will be dry.
Protect completed work. If a storm rolls in mid-installation, make sure exposed areas are covered. Open walls with incomplete siding and WRB transitions are vulnerable to wind-driven rain getting behind the cladding. A few tarps and 30 minutes of prep can prevent thousands in water damage.
Quality Control and Inspection Checkpoints
Siding is a finished surface. What goes up on the wall is what the homeowner sees every day for the next 20-30 years. Quality control during installation is not something you can skip and fix later.
Pre-installation inspection checklist:
Before your siding crew touches a single board, walk the building and verify:
- WRB is intact with no tears, holes, or unsealed seams
- Window and door flashing is complete and properly lapped (water should always shed over the layer below)
- All penetrations are flashed and sealed
- Wall surfaces are flat and true. Siding will telegraph bumps and dips in the substrate
- Furring strips (if used for rainscreen assembly) are properly spaced and fastened
During installation, watch for these common problems:
- Nailing errors. Vinyl siding needs to hang, not be pinned. Nails should be centered in the slots and driven to leave 1/32” of play. Over-driven nails cause buckling. Fiber cement nails need to be flush, not countersunk. These are basic things that get missed when crews rush.
- Improper overlap. Each siding type has specific overlap requirements. Vinyl lap siding typically overlaps 1-1/4”. Fiber cement planks overlap per manufacturer specs (usually 1-1/4” minimum). Getting this wrong affects both appearance and weather performance.
- Bad flashing at transitions. Where siding meets a different material (stone veneer, trim boards, roof lines), flashing details are critical. This is where most water intrusion starts. If the flashing is not right, the siding looks fine but the wall behind it is rotting.
- Caulking shortcuts. Caulk is not a substitute for proper flashing. But strategic caulking at butt joints (fiber cement), trim intersections, and penetrations is necessary. Watch for crews that skip it or use the wrong product.
- Level and plumb. It sounds basic, but siding that starts out of level will be visibly crooked by the time the crew reaches the top of the wall. Check the starter course carefully and spot-check every few courses.
Final inspection before signing off:
Walk every elevation with your siding sub. Look at the work from the street (where the homeowner will see it), from up close (where defects hide), and from angles (where wavy lines and misalignment show). Check that all trim is tight, caulking is smooth and continuous, and there are no visible fasteners where there should not be.
Document everything with photos. If you are running your projects through Projul, attach your inspection photos directly to the project so they are tied to the job record permanently. This protects you when warranty questions come up two years down the road.
The bottom line on siding management: it comes down to planning, sequencing, and paying attention to the details that less experienced GCs overlook. Get your materials ordered early. Get your subs scoped clearly. Build weather float into your schedule. And walk the job every single day during installation. Do those four things and your siding phases will run clean.
Want to put this into practice? Book a demo with Projul and see the difference.
Siding is not the most glamorous part of the build. But it is one of the most visible, and it is the primary barrier between the building envelope and everything the weather throws at it. Treat it with the attention it deserves and your projects will show it.
Frequently Asked Questions
How long does a typical siding installation take on a residential project?
What is the best order of operations for siding relative to other exterior trades?
How do you handle siding material lead times in project scheduling?
What weather conditions should stop siding installation?
Who is responsible for the weather-resistant barrier, the siding sub or the GC?
Related Articles

Construction Septic System Installation: What Every GC Needs to Know
Septic systems on rural builds bring unique scheduling, permitting, and soil challenges that can wreck your timeline if...
Read More →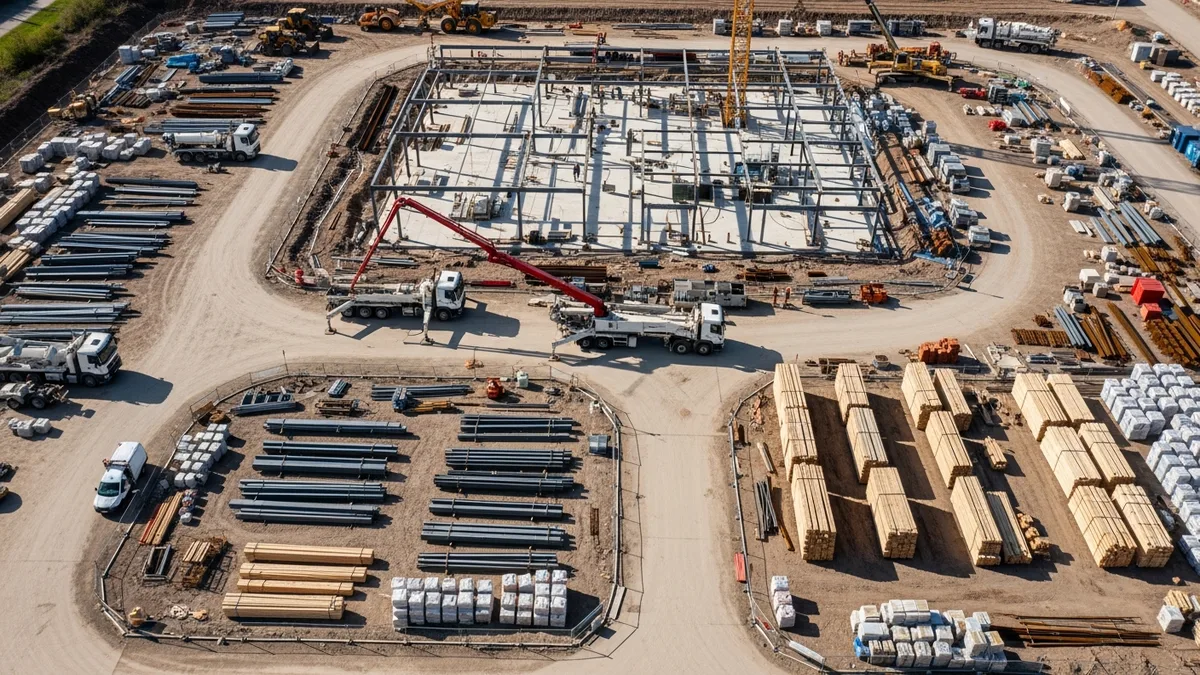
Construction Painting Project Management: Coordinating Interior and Exterior Phases
Painting is one of those trades that touches every other trade on the schedule. Get the sequencing wrong, and you're...
Read More →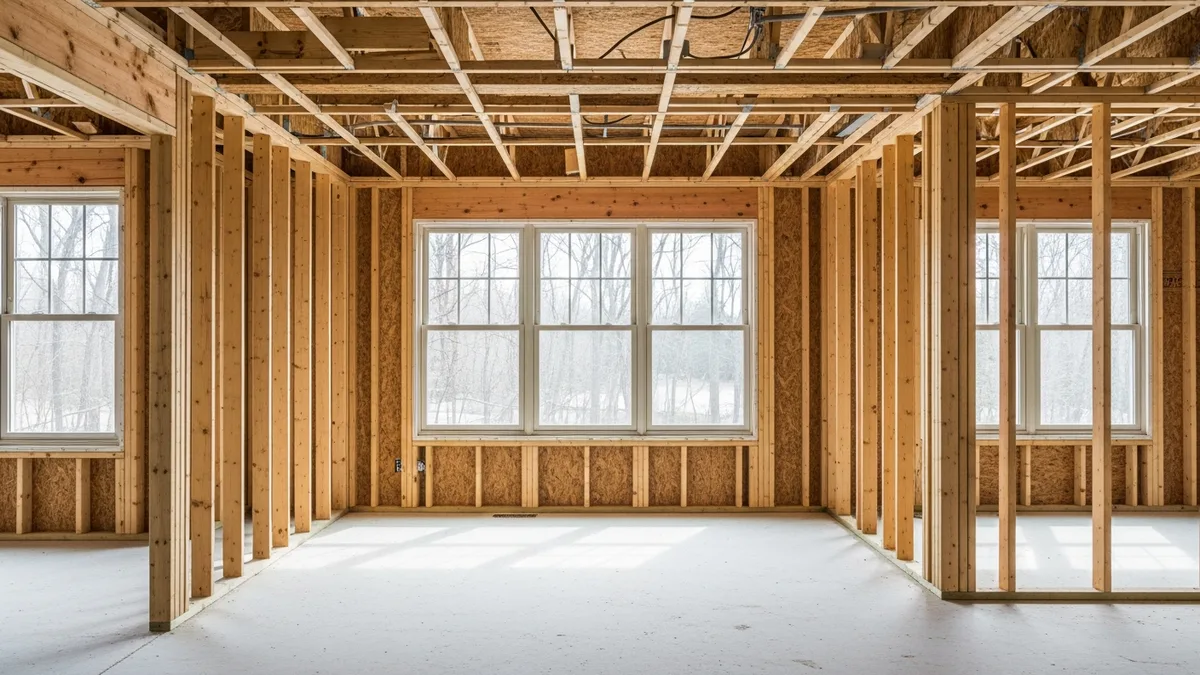
Epoxy Flooring and Industrial Coatings: A Contractor's Complete Guide
Epoxy flooring and industrial coatings are high-margin work when you get the process right and a fast way to lose money...
Read More →