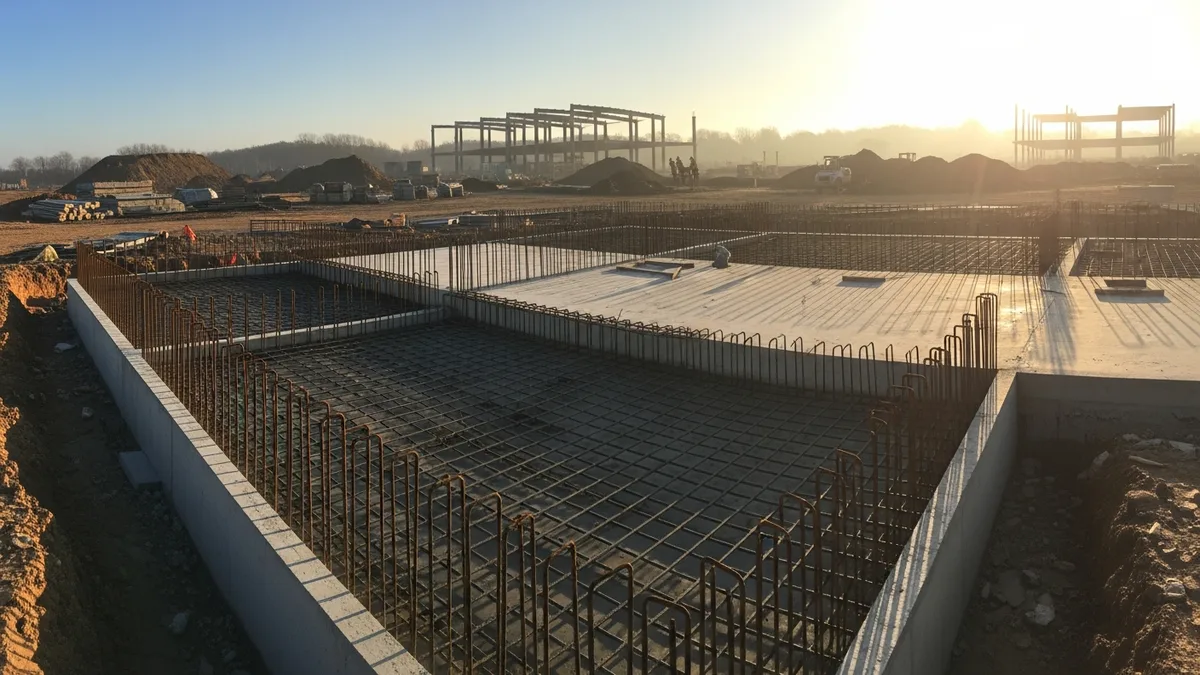
How to Create a Construction Schedule in 5 Steps (2026 Guide)

The keystone to any project is a well-thought-out and planned schedule. It’s the blueprint that coordinates tasks, manages resources, and ensures your team meets critical milestones. Without a solid schedule, even the most experienced crews end up waiting on materials, tripping over each other’s work, or blowing past deadlines that cost real money.
Whether you’re running a kitchen remodel or a multi-phase commercial buildout, the process is the same. Here’s a simple five-step process that construction companies can adopt to create a detailed construction schedule - plus the practical tips that separate a schedule that actually works from one that collects dust.
Step 1: Establish the Project Scope
Define every detail of the project before you schedule a single task. Every wall that needs plastering, every electrical rough-in, every inspection checkpoint, and every employee working must be accounted for. If it’s not in your scope, it won’t make it into your schedule, and that’s where surprises come from.
Start with your contract documents, plans, and specs. Walk through them room by room or phase by phase and list every deliverable. Don’t just think about the big-ticket items like framing and roofing. Include the small stuff: permit applications, material lead times, utility hookups, and final punch list items. These are the tasks that cause the most delays because nobody thought to schedule them.
A good scope document answers three questions for every task: What work needs to happen? What materials and equipment are required? Who is responsible for completing it?
Projul’s estimating tools help you build a comprehensive scope that serves as a reference point for all scheduling decisions. When your estimate is detailed enough to price every line item, it’s detailed enough to schedule from. That connection between your estimate and your schedule is what keeps projects from falling apart mid-build.
Pro tip: If you’re working from architectural plans, create a Work Breakdown Structure (WBS) first. Break the project into phases (sitework, foundation, framing, MEP rough-in, finishes), then break each phase into individual tasks. A $500,000 custom home might have 150 to 200 individual tasks once you break it down properly. That sounds like a lot, but each one only takes a few minutes to schedule when you’ve done the scope work up front.
Common Scope Mistakes That Wreck Schedules
The number one mistake contractors make is starting with an incomplete scope. Here are the items most commonly left out:
- Permit and inspection lead times. Some jurisdictions take two weeks for a framing inspection. If you didn’t account for that, your drywall crew is sitting idle.
- Material procurement windows. Custom windows, specialty fixtures, and structural steel all have lead times measured in weeks or months.
- Subcontractor mobilization. Your electrician can’t show up tomorrow just because framing finished early. They have other jobs scheduled too.
- Owner decisions. Tile selections, paint colors, fixture choices. If the homeowner hasn’t made these decisions by the time you need to order, you’re stuck.
Build these items into your scope from day one. They’re not optional extras. They’re schedule dependencies that will bite you if you ignore them.
Step 2: Sequence the Activities
Proper task sequencing prevents costly delays and crew conflicts. With the estimate in hand, determine the order of operations and identify dependencies. You can’t hang drywall before the electrical and plumbing rough-ins pass inspection. You can’t pour a slab before the plumber sets underground. These are hard dependencies, and missing even one of them can cascade into weeks of delays.
Start by categorizing your dependencies into four types:
- Finish-to-Start (FS): Task B can’t start until Task A finishes. This is the most common type. Example: you can’t frame walls until the foundation is cured.
- Start-to-Start (SS): Task B can start at the same time as Task A. Example: electrical and plumbing rough-in can often happen simultaneously.
- Finish-to-Finish (FF): Task B can’t finish until Task A finishes. Example: final grading can’t finish until all hardscape is complete.
- Start-to-Finish (SF): Rare in construction, but occasionally used for just-in-time material deliveries.
Once you map out your dependencies, look for your critical path, the longest sequence of dependent tasks from project start to project finish. Any delay on a critical path task delays the entire project. Non-critical tasks have “float,” meaning they can shift a few days without affecting the finish date.
Projul’s scheduling features include Gantt chart views that visualize how tasks overlap and where your dependencies sit. Being able to see the whole project timeline in one view is what separates contractors who deliver on time from those who are always scrambling. For more on this topic, check out our guide to construction scheduling best practices.
Practical Sequencing Example
Say you’re building a 3,000 square-foot custom home. Your high-level sequence might look like this:
- Site prep and excavation (Week 1-2)
- Foundation pour and cure (Week 2-4)
- Framing (Week 4-7)
- Roofing and windows (Week 7-9)
- MEP rough-in - electrical, plumbing, HVAC (Week 8-11, overlapping)
- Insulation and drywall (Week 11-13)
- Interior finishes - cabinets, tile, paint (Week 13-17)
- Final MEP trim (Week 17-18)
- Punch list and final inspections (Week 18-19)
Notice that some phases overlap. Your roofer can start while framing wraps up. Your electrician and plumber can work simultaneously during rough-in. Identifying these overlaps is how you shave weeks off a project without cutting corners.
Step 3: Assign Resources
Assign the right crew and equipment to each task before work begins. Be realistic about the availability and capabilities of your resources. A two-person crew isn’t going to frame a 3,000 square-foot house in a week, no matter what the schedule says. If your schedule doesn’t match reality, your crew will stop trusting it, and a schedule nobody follows is worthless.
Not sure if Projul is the right fit? Hear from contractors who use it every day.
For each task, you need to know:
- Who’s doing it? Name the crew lead or subcontractor. “TBD” on a schedule is a red flag.
- How many people? A framing crew of four works at a very different pace than a crew of eight. Your durations depend on crew size.
- What equipment is needed? Cranes, lifts, trenchers, concrete pumps. These need to be reserved in advance, especially during busy seasons.
- What materials are required? And more importantly, when do they need to arrive? Schedule deliveries for the day before installation, not the day of. Jobsite storage space matters too.
Projul’s task assignment features let you assign teams in seconds, and with no per-user fees, everyone stays in the loop. When a crew lead can see their assignments on their phone, they show up prepared. When they can’t, you’re burning the first hour of every morning explaining what needs to happen.
Resource Leveling
One of the biggest scheduling mistakes is overloading your crew. If you’ve got the same lead carpenter assigned to two different phases on two different jobs during the same week, something is going to slip.
Resource leveling means smoothing out your assignments so no person or piece of equipment is double-booked. This sometimes means pushing a non-critical task back a few days to free up a crew member for a critical-path task on another job.
If you’re running multiple projects at once, this becomes critical. You need a system that shows you resource allocation across all active jobs, not just one project at a time. Spreadsheets fall apart here because they can’t cross-reference between projects. Construction scheduling software that shows crew assignments across your whole pipeline is the only way to catch conflicts before they happen.
Step 4: Estimate Duration
Base your timeline on real data, not gut feelings. Estimate the duration of each task, considering factors like workforce experience, site conditions, weather patterns, and potential roadblocks.
The best source of duration estimates is your own past projects. If you tracked how long framing took on your last five houses, you’ve got a baseline. If you didn’t, you’re guessing, and guesses tend to be optimistic.
Here’s a framework for estimating task duration:
- Start with production rates. How many square feet of drywall can a two-person crew hang per day? How many linear feet of pipe can a plumber run? Industry standards exist, but your crew’s actual rates are what matter.
- Factor in conditions. Summer heat in Phoenix means shorter productive hours. Winter in Minnesota means potential weather days. Remodel work in an occupied home moves slower than new construction. Adjust accordingly.
- Add realistic buffers. Not padding. Buffers. There’s a difference. Padding is adding time because you’re not confident in your estimate. Buffers are planned contingency for known risks like weather, inspection delays, or owner decision timelines.
- Use three-point estimating for uncertain tasks. Estimate the best case, worst case, and most likely duration. Average them. This gives you a more realistic number than either optimism or pessimism alone.
Projul’s job costing data gives you historical benchmarks for accurate forecasting. When you can pull up exactly how long your last bathroom remodel took phase by phase, your next estimate is based on facts instead of feelings. Check out our complete guide to construction job costing for more on using historical data to improve project planning.
Duration Estimation Table
Here are some rough benchmarks for common residential tasks (these vary by region, crew size, and complexity):
- Foundation (average home): 2-4 weeks including cure time
- Framing (2,000 sq ft): 2-3 weeks with a 4-person crew
- Roofing (standard gable): 3-5 days
- Electrical rough-in (single family): 1-2 weeks
- Plumbing rough-in (single family): 1-2 weeks
- Drywall hang and finish: 2-3 weeks
- Interior paint (whole house): 1-2 weeks
- Cabinet install: 3-5 days
- Tile work (2 bathrooms + kitchen): 2-3 weeks
These are starting points. Your numbers will be different based on your crews, your market, and your project complexity. The key is to track your actuals and build a library of real production data over time.
Step 5: Monitor and Adjust
A schedule is a living document. Be prepared to adjust for weather delays, change orders, or unexpected challenges. The contractors who deliver on time aren’t the ones with perfect initial schedules. They’re the ones who catch problems early and adjust fast.
Here’s what monitoring looks like in practice:
Daily check-ins. Your superintendent or project manager should be comparing actual progress to scheduled progress every single day. If framing was supposed to take five days and you’re on day three with only 40% complete, that’s a red flag you need to address now, not on day six when you’re already behind.
Weekly schedule updates. Every Friday afternoon (or Monday morning), update your schedule with actual completion dates and adjust upcoming tasks accordingly. This takes 30 minutes and saves hours of firefighting later.
Proactive communication. When a delay happens, your subs and suppliers need to know immediately. If your concrete pour gets pushed by rain, your framer needs to know their start date just moved. Projul’s real-time updates and push notifications keep your entire project team informed automatically without playing phone tag.
Projul’s unique slide feature lets you bulk-update schedules when delays hit. Instead of manually dragging 50 tasks one at a time, you select a date range and shift everything forward. A two-day rain delay that would take 30 minutes to reschedule manually takes about 10 seconds.
Tracking Percent Complete
There are several ways to track how far along a task or project is:
- Units completed. If you’re installing 200 linear feet of fence, and 100 feet are done, you’re 50% complete.
- Cost-based percentage. If a task was budgeted at $10,000 and you’ve spent $6,000, you’re roughly 60% complete (though cost doesn’t always equal progress).
- Milestone-based. Break a task into checkpoints. Framing might be: plates laid (20%), walls up (50%), sheathing on (75%), inspected and passed (100%).
The most accurate approach combines all three. Visual progress on site plus cost data from your time tracking and material receipts gives you a clear picture of where you actually stand.
Common Scheduling Mistakes to Avoid
Even experienced contractors fall into these traps. Here’s what to watch for:
1. Not scheduling inspections. Every jurisdiction has different inspection turnaround times. Some are same-day. Some are two weeks out. Build inspection wait times into your schedule, and call for inspections as early as the code allows.
2. Ignoring lead times on materials. That custom front door with a 12-week lead time needs to be ordered before you even break ground. Create a separate procurement schedule that runs parallel to your construction schedule.
3. Back-loading the schedule. Cramming finish work into the last two weeks because earlier phases ran long is a recipe for quality problems and warranty callbacks. Protect your finish schedule like you protect your foundation.
4. No weather contingency. If you’re building in a climate with seasonal weather patterns, build those patterns into your baseline schedule. Don’t plan exterior concrete work during your area’s rainiest month if you can avoid it.
5. Skipping the look-ahead schedule. A look-ahead schedule is a detailed two-to-three-week rolling plan pulled from your master schedule. It’s what your crew and subs actually work from day to day. The master schedule is too high-level for daily execution. The look-ahead bridges the gap.
6. Failing to communicate changes. A schedule update that lives only on your computer doesn’t help the electrician who just showed up to a site that isn’t ready for them. Every schedule change needs to reach every affected party, ideally through automatic notifications rather than individual phone calls. Projul’s scheduling tools push notifications to your whole team the moment a change is made.
Wrap Up
By following these five steps, you’ll craft a construction schedule that’s both a map and a compass for your project’s journey. It’s not just about timelines - it’s about building a foundation for project success. A good schedule keeps your crew productive, your subs showing up on the right day, your materials arriving when you need them, and your customers confident that their project is on track.
Projul’s all-in-one construction management software puts scheduling, task assignment, and team communication in one app. Creating a schedule with Projul allows for transparency with customers and employees. Projul’s slide feature lets you bulk-adjust your project timeline for bad weather, delays, or change orders in seconds. With 26+ features and no per-user fees, your whole team stays aligned. Check out our website for more information about our scheduling features!
Ready to stop guessing and start managing? Schedule a demo to see Projul in action.
DISCLAIMERWe make no warranty of accuracy, timeliness, and completeness of the information presented on this website. Posts are subject to change without notice and cannot be considered financial advice.
Frequently Asked Questions
What are the 5 steps to create a construction schedule?
How do I handle schedule delays on a construction project?
What is the best tool for construction scheduling?
How far in advance should I create a construction schedule?
Should I use a Gantt chart or a calendar for construction scheduling?
Related Articles
Construction Pile Driving and Deep Foundation Methods Guide
A contractor's guide to pile driving and deep foundation methods. Covers driven piles, drilled shafts, auger cast...
Read More →
Design-Build vs Design-Bid-Build: Which Delivery Method Is Right for Your Project
Design-build and design-bid-build are the two most common ways to deliver a construction project. Picking the wrong one...
Read More →
Construction Document Management: Stop Losing Plans, Contracts, and Change Orders
Losing documents on a construction project costs more than you think. Missed change orders, unsigned contracts sitting...
Read More →