Retaining Wall Construction: A Field Guide for GCs

If you have been in this business long enough, you have seen a retaining wall project go sideways. Maybe it was a wall that started leaning six months after the client moved in. Maybe it was a bid you won that turned into a money pit because nobody checked the soils first. Retaining walls sit at the intersection of civil engineering, dirt work, and concrete, and getting any one of those wrong will cost you.
This guide is written for GCs who either self-perform retaining wall work or manage subs doing it. We will cover the wall types you will actually encounter, the soil and drainage details that make or break the job, engineering and permitting realities, and how to keep these projects on track from bid to final inspection.
Types of Retaining Walls and When to Use Each
Not every retaining wall is the same, and picking the wrong type for the job is an expensive mistake. Here is a quick rundown of what you will see in the field.
Gravity walls rely on their own mass to resist soil pressure. Think large stone, stacked concrete blocks, or even gabion baskets filled with rock. These work well for shorter walls, generally under 4 feet of retained height. They are relatively simple to build and do not require steel reinforcement. The trade-off is they eat up more space because they need a wider base to stay stable.
Cantilever walls are the workhorse of commercial and residential site work. These are reinforced concrete walls with an L-shaped or inverted-T footing. The weight of the soil sitting on the heel of the footing helps resist overturning. Cantilever walls handle heights from 4 feet up to about 25 feet efficiently. They require engineering, rebar, formwork, and good concrete placement, but they are the standard for a reason. If you need a refresher on mix design and placement, check out our concrete basics guide.
Segmental retaining walls (SRWs) use manufactured interlocking blocks, often with geogrid reinforcement in the soil behind them. These are popular for residential and light commercial work up to 10-15 feet. They look good, install faster than formed concrete, and the geogrid does the heavy lifting on taller walls. Just make sure your sub actually follows the manufacturer’s installation specs. Cutting corners on geogrid length or compaction behind SRWs is a recipe for callbacks.
Soldier pile and lagging walls show up on commercial and infrastructure projects where you need to retain earth in tight spaces, especially during excavation. Steel H-piles are driven or drilled into the ground, and timber or concrete lagging spans between them. These are common for temporary shoring but can be permanent too.
Mechanically stabilized earth (MSE) walls use layers of geogrid or metal strips embedded in compacted fill behind a facing panel. DOTs love these for highway work. If you are doing any land development work near highways or large commercial sites, you will run into MSE walls eventually.
The right wall type depends on height, soil conditions, space constraints, aesthetics, and budget. Do not let a client or architect pick a wall type based on looks alone without understanding what the site actually needs.
Soil Conditions: The Part Nobody Wants to Deal With
Here is the truth that every experienced GC already knows: the dirt determines everything. You can design the most beautiful wall on paper, but if you do not understand the soil behind it and under it, you are guessing. And guessing on retaining walls gets expensive.
Before you price a retaining wall job, you need to know what you are dealing with. That means soil testing at a minimum, and a full geotech report for anything significant. You need to know:
- Soil type behind the wall. Clay soils retain water and exert higher lateral pressure than sandy or granular soils. If you are designing for granular backfill but the native soil is heavy clay, you need to account for that in your drainage plan and possibly your structural design.
- Bearing capacity under the footing. A cantilever wall footing sitting on soft clay is a different animal than one on compacted gravel or bedrock. Undersized footings on poor-bearing soils lead to settlement, rotation, and failure.
- Water table depth. If groundwater is anywhere near your wall elevation, your drainage design just got more involved and your excavation costs went up.
- Slope stability above and below. A retaining wall at the toe of an unstable slope can get loaded well beyond its design capacity. A wall at the top of a steep cut needs to account for the reduced passive resistance in front of the footing.
Get a geotech involved early on walls over 4 feet or any wall on a slope. The $3,000-$5,000 you spend on a report is cheap insurance compared to a wall failure that costs $50,000 or more to fix. Good site surveying data combined with geotech information gives your engineer what they need to design the wall right the first time.
One more thing on soils: pay attention to backfill. The material you place directly behind the wall matters as much as the native soil. Specify free-draining granular backfill (clean gravel or crushed stone) in the drainage zone behind every retaining wall. Do not let your crews backfill with the native clay they just excavated. It will hold water, increase lateral pressure, and eventually push the wall over.
Drainage: Get This Wrong and Nothing Else Matters
Contractors across the country trust Projul to run their businesses. Read their reviews.
If there is one section of this guide you take seriously, make it this one. Poor drainage is responsible for more retaining wall failures than bad concrete, undersized rebar, or weak soils combined. Water is the enemy.
When water accumulates behind a retaining wall, it creates hydrostatic pressure. This pressure acts in addition to the lateral earth pressure the wall was designed to resist. A wall engineered for dry soil conditions can be overwhelmed quickly when saturated soil and water pressure combine. The result is usually a wall that starts leaning, cracking at the base, or in worst cases, collapses entirely.
Every retaining wall needs a drainage system. Here is what a proper installation looks like:
Drainage aggregate. A zone of clean, free-draining gravel or crushed stone directly behind the wall face, typically 12 inches wide minimum, extending from the base of the wall to near the top. This creates a path for water to move down to the collection system instead of building up pressure against the wall.
Perforated drain pipe. A 4-inch or 6-inch perforated pipe at the base of the wall, sitting in the drainage aggregate, sloped to daylight or connected to a storm drain system. Wrap the pipe in filter fabric to keep fines from clogging it over time. The pipe collects water that migrates through the drainage blanket and carries it away.
Filter fabric. A layer of geotextile fabric between the drainage aggregate and the native soil behind it. This prevents fine soil particles from migrating into the gravel and clogging your drainage system. Skipping the filter fabric is a shortcut that will catch up with you in a few years.
Weep holes. For concrete walls, install weep holes through the wall face near the base, spaced 6-10 feet apart. These provide a secondary escape route for any water that does build up, and they give you a visual indicator. If you see water flowing from weep holes months after construction, your drainage system is working. If you see staining or efflorescence but no flow, you might have a clog developing.
Drainage ties directly into your broader stormwater management plan for the site. Make sure your wall’s drainage outlet connects to the site’s stormwater system and does not just dump water where it will cause erosion or flooding problems downstream.
Engineering, Permits, and the Stuff That Slows You Down
Let’s talk about the paperwork side of retaining walls, because this is where projects stall if you are not on top of it.
When do you need an engineer? The general rule is any wall over 4 feet of retained height requires a licensed engineer’s design and stamped drawings. Some jurisdictions set that threshold at 3 feet. Walls that carry surcharge loads (think a driveway or building above the wall) often need engineering regardless of height. When in doubt, get it engineered. The liability exposure on an un-engineered wall failure is not worth the savings.
Permitting timelines. Retaining wall permits can take anywhere from a few days to several weeks depending on your jurisdiction. In some areas, a retaining wall permit is bundled with the grading permit. In others, it is a separate structural permit that requires plan review by the building department’s engineer. Factor this into your schedule from day one.
Inspections. Expect inspections at footing excavation (before pour), rebar placement, and final backfill. Some jurisdictions also require a special inspection for concrete placement or compaction testing on the backfill. Know your inspection requirements before you start and build them into your project schedule. Nothing kills momentum like having to stop work and wait for an inspector you forgot to call.
Engineered vs. pre-engineered. SRW manufacturers often provide pre-engineered designs for standard configurations. These can speed up permitting significantly because the wall system is already tested and approved. But they have limitations. Non-standard heights, slopes, surcharges, or poor soils usually push you outside the pre-engineered tables and back into custom engineering territory. Do not try to force a pre-engineered solution where it does not fit.
Submittals and documentation. Keep organized records of your geotech report, engineered plans, permits, concrete mix tickets, rebar mill certs, compaction test results, and inspection reports. You will need them for closeout, and you will really need them if something goes wrong five years from now. Good project management software makes this easier to track. If you are still juggling paper files and spreadsheets, it might be time to look at how Projul handles project documentation.
Building the Wall: Field Execution Tips
You have your plans, your permits, and your materials on site. Now it is time to build. Here are the field details that separate a wall that lasts decades from one that becomes a warranty nightmare.
Excavation and base prep. Over-excavate the footing trench by 6 inches on each side and 6 inches below the bottom of footing elevation. Fill that extra depth with compacted crushed stone to create a stable, level base. If the soil at footing depth does not match what the geotech report described, stop and call the engineer. Do not just pour on questionable soil and hope for the best.
Rebar placement. Follow the engineer’s drawings exactly. Retaining wall rebar is not generic, the size, spacing, and development lengths are calculated for specific soil pressures and wall heights. Pay special attention to the dowels that connect the footing to the stem wall. These transfer the bending moment from the wall into the footing, and if they are wrong, the wall’s structural capacity is compromised. Use chairs and tie wire to keep rebar in position during the pour. Rebar sitting on the dirt at the bottom of the form is not providing the cover or the structural performance the engineer intended.
Concrete placement. Pour the footing and stem wall according to your plans. Most walls use a two-pour sequence: footing first, then stem wall after the footing has cured enough to support the forms. Use a keyway or roughened surface at the cold joint between pours to ensure a good bond. Vibrate the concrete properly, especially in the stem wall where the forms are narrow and air pockets love to form. Our concrete basics guide covers placement and curing in more detail.
Backfill and compaction. This is where a lot of crews get sloppy, and it is where problems start. Do not backfill until the concrete has reached adequate strength, typically 7 days minimum for a standard mix, longer in cold weather. Place backfill in lifts of 8-12 inches and compact each lift. The drainage aggregate zone goes in first, tight against the wall, with the filter fabric separating it from the structural backfill behind it. Use a plate compactor or jumping jack, not a ride-on roller, close to the wall. Heavy equipment too close to a green wall can push it right over.
SRW-specific notes. For segmental walls, the base course is everything. Spend the time to get it level and properly seated in the gravel leveling pad. Every block above the base course follows from that first row. Install geogrid at the elevations specified in the plans, and make sure it extends the full length into the reinforced zone. Compact the fill over the geogrid before placing the next course of block. A common mistake is running the geogrid short to save material. Do not do it. The geogrid length is what keeps the wall from sliding or overturning.
Control joints in concrete walls. Plan control joints every 20-30 feet in long walls to manage shrinkage cracking. Tooled or sawed joints look better than random cracks and give you control over where the movement happens. The engineer should show joint locations on the plans, but if they do not, ask. Do not just leave it to chance.
Managing Retaining Wall Projects: Budget, Schedule, and Risk
Retaining walls have a way of blowing budgets if you do not manage them carefully. The work is sequential, weather-dependent, and full of variables that can change once you start digging. Here is how to keep these projects under control.
Estimating accurately. Retaining wall estimates need to account for more than just the wall itself. Include excavation, backfill import, drainage materials, forming and stripping, rebar, concrete, waterproofing or damp-proofing if specified, and backfill compaction. Do not forget mobilization for concrete pumps, crane time for large panel walls, or dewatering if the water table is high. A good estimating tool helps you build these line items into a template so nothing gets missed bid after bid.
Schedule sequencing. A typical cantilever wall sequence looks like this: excavation (1-2 days), base prep and footing rebar (1 day), footing pour (1 day), cure time (3-7 days), stem wall form and rebar (1-2 days), stem wall pour (1 day), strip forms and cure (3-7 days), waterproofing and drainage install (1 day), backfill in lifts (1-2 days). That is 2-4 weeks for a straightforward wall, and weather can stretch every one of those steps. Build float into your schedule and make sure dependent trades know when to show up. If your wall is on the critical path for the rest of the site work, flag that early and manage it aggressively.
Common budget killers. Watch out for these:
- Unexpected soil conditions. The geotech report said sandy gravel, but you hit clay at footing depth. Now you need deeper footings or soil remediation.
- Water in the excavation. Dewatering costs add up fast if you did not anticipate them.
- Change orders from above. The architect decides the wall needs a stone veneer that was not in the original scope. That adds cost, time, and coordination.
- Access issues. If a concrete truck cannot get to the wall location, you are paying for a pump truck. If a dump truck cannot get in, you are moving dirt with a skid steer, which takes three times as long.
- Rework from failed inspections. If the inspector rejects your rebar placement or your compaction test fails, you are tearing out work and redoing it on your dime.
Risk management. Document everything with photos. Photograph the excavation before you pour, the rebar before the inspector arrives, the drainage installation before you backfill, and the compaction testing. If a wall has issues years later, your photos are your defense. Keep daily logs noting weather, soil conditions encountered, and any deviations from plans.
Retaining Wall Failures: What Goes Wrong and How to Avoid It
Every contractor who has been around long enough has either seen a wall fail or inherited one that was about to. Understanding the failure modes helps you avoid them on your own jobs, and it also helps you spot trouble when you are asked to bid a repair.
Overturning is what most people picture when they think of a retaining wall failure. The soil pressure behind the wall exceeds the wall’s ability to resist rotation, and the whole thing tips forward. This usually happens because the footing is too narrow, the wall was not designed for the actual soil loads, or (most commonly) drainage failed and hydrostatic pressure pushed the wall past its limit. Cantilever walls resist overturning through the weight of soil sitting on the heel of the footing. If that heel is too short, or if the soil on top of it gets excavated or eroded, you lose your stabilizing force.
Sliding happens when the lateral force pushes the entire wall forward along the base. The footing slides on the soil beneath it. Engineers design against this by making the footing wide enough that friction between the concrete and soil resists the sliding force. A key at the bottom of the footing, which is just a small projection of concrete down into the soil, adds passive resistance. If you are pouring footings and the plans show a key, do not skip it because it is a pain to form. That key might be the only thing keeping the wall from sliding downhill during a heavy rain event.
Global instability is the scariest failure mode because it involves the entire soil mass, wall included, moving as a unit. This is basically a landslide that takes your wall with it. It shows up on steep slopes where the wall is built into a hillside that does not have adequate stability on its own. No amount of rebar or drainage fixes a global stability problem. This is why geotech reports on hillside sites are not optional. If the slope itself is not stable, you need to address that before you build a wall on it.
Bearing capacity failure shows up as the wall settling unevenly. One section sinks more than the others, the wall cracks, and joints open up. This happens when the footing sits on soil that cannot support the load. Soft clay, organic soils, or poorly compacted fill under the footing are the usual culprits. Your geotech report will give you bearing capacity numbers. If the soil at footing depth does not match what the report assumed, that is a change condition and you need to stop and get direction from the engineer.
Settlement behind the wall is a different problem from bearing failure but just as common. When backfill behind the wall is not properly compacted, it consolidates over time. Driveways crack, sidewalks settle, and the homeowner blames the wall even though the wall itself is fine. The fix is simple but requires discipline: compact backfill in thin lifts, test compaction if the specs require it, and never dump and run.
Freeze-thaw damage affects walls in northern climates. Water trapped behind the wall freezes, expands, and pushes against the wall face. Over many cycles, this can crack block faces, pop SRW units out of alignment, or fracture concrete stems. The fix is, once again, good drainage. Water that moves freely through the drainage blanket and out the drain pipe never gets a chance to freeze against the wall. In cold climates, make sure your drain pipe outlets are protected from freezing and that the footing depth extends below the frost line.
Here is a simple way to think about it: almost every retaining wall failure traces back to one of three root causes. Bad drainage, bad soils, or a wall that was not engineered for the actual loads it carries. Fix those three things and you will never get a callback on a retaining wall.
Retaining Wall Repair and Retrofit: When You Inherit Someone Else’s Problem
Sooner or later, someone will ask you to fix a failing retaining wall. Maybe it is a homeowner whose ten-year-old wall is leaning. Maybe it is a commercial property manager dealing with a wall that is separating at the joints. Repair work is its own specialty, and pricing it wrong can hurt you even worse than new construction.
Assessing the damage. Before you quote anything, figure out why the wall is failing. Look for the obvious signs: leaning, cracking patterns, settlement behind the wall, water staining, bulging, or displacement at joints. Horizontal cracks in a concrete stem wall usually indicate the wall is being pushed beyond its bending capacity. Vertical cracks might just be shrinkage, or they might indicate differential settlement. Diagonal cracks from the corners of the wall are often a sign of overturning. A wall that is leaning more than about 1 inch per foot of height is in trouble and may need full replacement rather than repair.
Dig behind the wall at one or two locations to check the drainage. If you find saturated clay right against the back of the wall with no gravel, no drain pipe, and no filter fabric, you have found your problem. You will be surprised how often the answer is that simple. The original crew just backfilled with native soil and never installed drainage.
Helical tiebacks. For leaning concrete or block walls that are structurally sound but need to be pulled back or at least stabilized, helical tiebacks are a common solution. A helical anchor is drilled through the wall and into stable soil behind it, then tensioned to pull the wall back toward plumb or at least stop further movement. This is specialty work and usually requires a sub who does foundation repair. The engineering is straightforward, but the installation needs experience to get right. Get three quotes from tieback subs and make sure they carry adequate insurance.
Wall rebuilds. Sometimes a wall is too far gone to save and you need to tear it out and start over. This is where things get expensive and where your estimate needs to cover every step. Demolition of the existing wall, hauling away the debris, shoring or temporary stabilization of the slope while the old wall is removed, and then new construction from scratch. If there is a structure, patio, or driveway above the wall, you may need to protect or temporarily support those elements during the rebuild. Factor in the cost of a temporary fence or barrier if the wall is adjacent to a public area.
Adding drainage to existing walls. If the wall is still in decent shape but has no drainage, you can sometimes save it by excavating behind the wall in sections, installing a drainage blanket and perforated pipe, and backfilling with clean gravel. Work in short sections, 8-10 feet at a time, so you do not unload too much soil at once and destabilize the wall. This is a judgment call and you should have an engineer weigh in on whether the wall can handle the temporary loss of backfill support during the retrofit.
Pricing repair work. Repair jobs are harder to estimate than new construction because you do not know exactly what you will find until you start digging. Build contingencies into your bid, at least 15-20 percent for unknowns. Be upfront with the client about the uncertainty. A good approach is to give a base price for the work you can see and a per-unit rate for additional work if conditions are worse than expected. Track your costs carefully on repair jobs so you can refine your estimates over time. A solid time tracking system that lets your crews log hours by task gives you the real data you need, not just gut estimates for the next one.
Warranty and liability. Be careful about warranting repair work on someone else’s wall. You did not build the original wall, you do not know its full history, and there may be underlying issues you cannot see. A limited warranty on your repair work is reasonable, but avoid guaranteeing the overall performance of a wall you did not construct. Document the existing conditions thoroughly with photos and a written assessment before you start, so there is no argument later about what was pre-existing versus what happened on your watch.
Retaining Wall Materials: Cost, Durability, and What Actually Holds Up
Choosing the right materials for a retaining wall is a balance between budget, aesthetics, site conditions, and how long the wall needs to last. Here is a breakdown of the common options and what they actually cost you in the field.
Cast-in-place concrete is the gold standard for structural retaining walls. It handles the highest loads, lasts the longest, and gives you the most flexibility in terms of wall geometry. You can form curves, step the wall with the grade, and integrate footings, counterforts, and buttresses as needed. The downside is cost and time. You need formwork, rebar, a concrete pump on most jobs, and cure time between pours. Figure $30-60 per square face foot for a straightforward wall, more if access is tight or the wall design is complex. Concrete also gives you a blank canvas for finishes, whether that is form liner texture, exposed aggregate, stain, or a stone veneer applied after the fact.
Segmental retaining wall (SRW) block has taken over a large share of the residential and light commercial market. Manufacturers like Belgard, Versa-Lok, Keystone, and Anchor offer dozens of face textures and colors. Material cost for the block itself runs $8-15 per square face foot depending on the product line, and installed costs typically land in the $20-45 per square face foot range. The main advantage is speed. A good crew can lay 50-80 square feet of SRW block per day per person, compared to maybe 20-30 square feet per day for formed concrete. The main limitation is height. Unreinforced SRW walls top out at 3-4 feet. Above that, you need geogrid reinforcement, and above about 15 feet, most engineers start looking at other wall types.
Timber walls using pressure-treated landscape timbers or railroad ties are the cheapest option and still show up on residential jobs. They are fast to build and easy to work with, but they have a limited lifespan. Pressure-treated timber walls last 15-20 years at best before the wood starts to rot, especially in wet climates. Railroad ties contain creosote, which some jurisdictions now restrict or prohibit due to environmental concerns. If you build timber walls, use approved pressure-treated lumber rated for ground contact and install proper drainage just like you would with any other wall type. Timber is really only appropriate for walls under 4 feet in non-critical applications.
Natural stone walls, whether dry-stacked or mortared, look great and can last a very long time if built correctly. The challenge is labor cost. Fitting natural stone is skilled work and it is slow. A good stone mason might lay 20-30 square feet per day, and the stone itself is not cheap. Installed costs for a natural stone retaining wall can run $40-80 per square face foot or more. If the client wants the natural stone look on a tighter budget, an SRW block with a tumbled or natural stone face texture gets you 80 percent of the look at half the cost.
Gabion walls use wire baskets filled with rock. They are seeing more use in erosion control and slope stabilization applications. Gabions are permeable by nature, so drainage is built into the system. They are cost-effective for large-scale walls where aesthetics are secondary, like highway embankments or creek bank stabilization. The wire baskets will eventually corrode, so gabions have a finite lifespan, though the rock fill continues to provide some stability even after the baskets fail.
Shotcrete walls are essentially concrete sprayed onto a reinforced surface, often against a soil nail or tieback system. These are common on highway cuts and urban hillside projects where conventional forming is impractical. Shotcrete requires a specialty contractor and nozzleman certification, so you will be subbing this out rather than self-performing. Costs vary widely based on access and complexity.
When comparing materials, think beyond the initial installed cost. A timber wall that costs $4,000 today but needs replacement in 15 years is more expensive over 30 years than a concrete wall that costs $12,000 and lasts the life of the property. Help your clients understand this comparison. Most will pay more up front for something that lasts, especially if you can show them the numbers.
Communicating With Clients and Managing Expectations on Wall Projects
Retaining walls create more client disputes than almost any other type of site work, and most of those disputes come down to poor communication rather than poor construction. Get ahead of this by setting expectations early and communicating clearly throughout the project.
Explaining why it costs what it costs. Most homeowners and even some commercial clients have no idea what goes into a retaining wall. They see a wall and think it is just stacking blocks or pouring some concrete. When your bid comes in at $25,000 for what looks like a simple wall, they are shocked. Take the time to walk them through the scope. Show them the engineering costs, the excavation, the drainage system they will never see once it is buried, the compacted fill, the inspections. When clients understand that two-thirds of the work is underground and invisible, they are more likely to accept the price and less likely to push back on the drainage and backfill costs that protect the wall long-term.
Managing schedule expectations. Retaining wall projects depend heavily on weather. A week of rain can push your pour date out by two weeks once you factor in drying time for the subgrade. Concrete does not cure properly below 40 degrees, so cold weather adds delays and costs for blankets or heated enclosures. Set expectations up front that the schedule is weather-dependent and provide a range rather than a hard date. Instead of saying “we will be done in three weeks,” say “the work takes 12-15 working days, and weather can extend that.” Use your project scheduling tools to keep clients informed about where the project stands without turning every rain day into a phone call.
Change order discipline. Retaining wall projects are magnets for changes. The client wants to extend the wall another 20 feet. The engineer requires a deeper footing once you expose the subgrade. The city wants additional drainage capacity. Every one of these changes costs money and time, and if you do not capture them as change orders in real time, you are eating the cost. Process change orders the same day the change is identified, get them signed before you do the additional work, and track them in your project management system so nothing falls through the cracks. This is not about being difficult with your clients. It is about running a professional operation where everyone agrees on the scope and the cost before the work gets done.
Educating on maintenance. A retaining wall is not a build-it-and-forget-it installation. Clients need to know that they should keep drain pipe outlets clear of debris, avoid placing heavy loads near the top of the wall that were not part of the original design, and watch for signs of movement or drainage problems. Give them a simple one-page maintenance sheet at project closeout. This takes five minutes to create and can save you a warranty claim down the road. It also shows professionalism that leads to referrals.
Handling callbacks. Even on well-built walls, you will get calls. A small crack appears. A block shifted slightly. Water pools after a heavy rain. How you handle these calls defines your reputation. Respond quickly, inspect the issue in person, and determine whether it is a cosmetic concern, a normal settling issue, or an actual defect. Most callbacks on properly built walls turn out to be cosmetic or minor. Address them promptly and the client becomes a referral source. Ignore them and you end up with a negative review that costs you far more than the 30 minutes it would have taken to go look at it.
The contractors who build the best reputations in retaining wall work are not necessarily the ones who build the most walls. They are the ones who communicate clearly, document everything, and stand behind their work. That is how you build a business that lasts, not just walls that last.
Retaining walls are not the most glamorous part of construction, but they are one of the most consequential. A wall that is built right fades into the background and does its job for decades. A wall that is built wrong becomes the most expensive and visible problem on the project. Take the time to get the engineering right, the drainage right, and the execution right. Your reputation and your wallet will thank you.
Ready to stop guessing and start managing? Schedule a demo to see Projul in action.
Whether you are managing one retaining wall project or juggling a dozen active sites, keeping all the details straight is what separates the GCs who make money from the ones who just stay busy. If your current project management setup is not cutting it, take a look at what Projul can do for your operation.
Frequently Asked Questions
When does a retaining wall need an engineer's stamp?
What is the most common cause of retaining wall failure?
How much does a retaining wall cost per linear foot?
Can you build a retaining wall without a footing?
How long does a concrete retaining wall last?
Related Articles
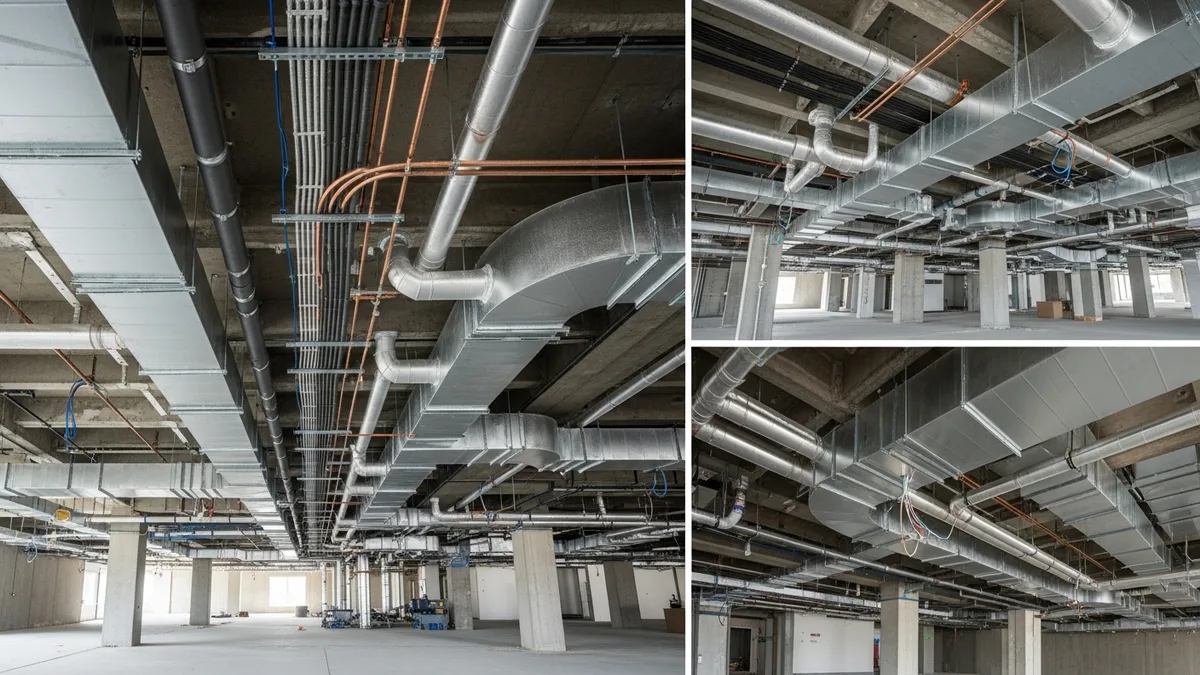
Construction Electrical Rough-In Guide for General Contractors
The electrical rough-in is where circuit layout, box placement, and wire routing all have to come together before...
Read More →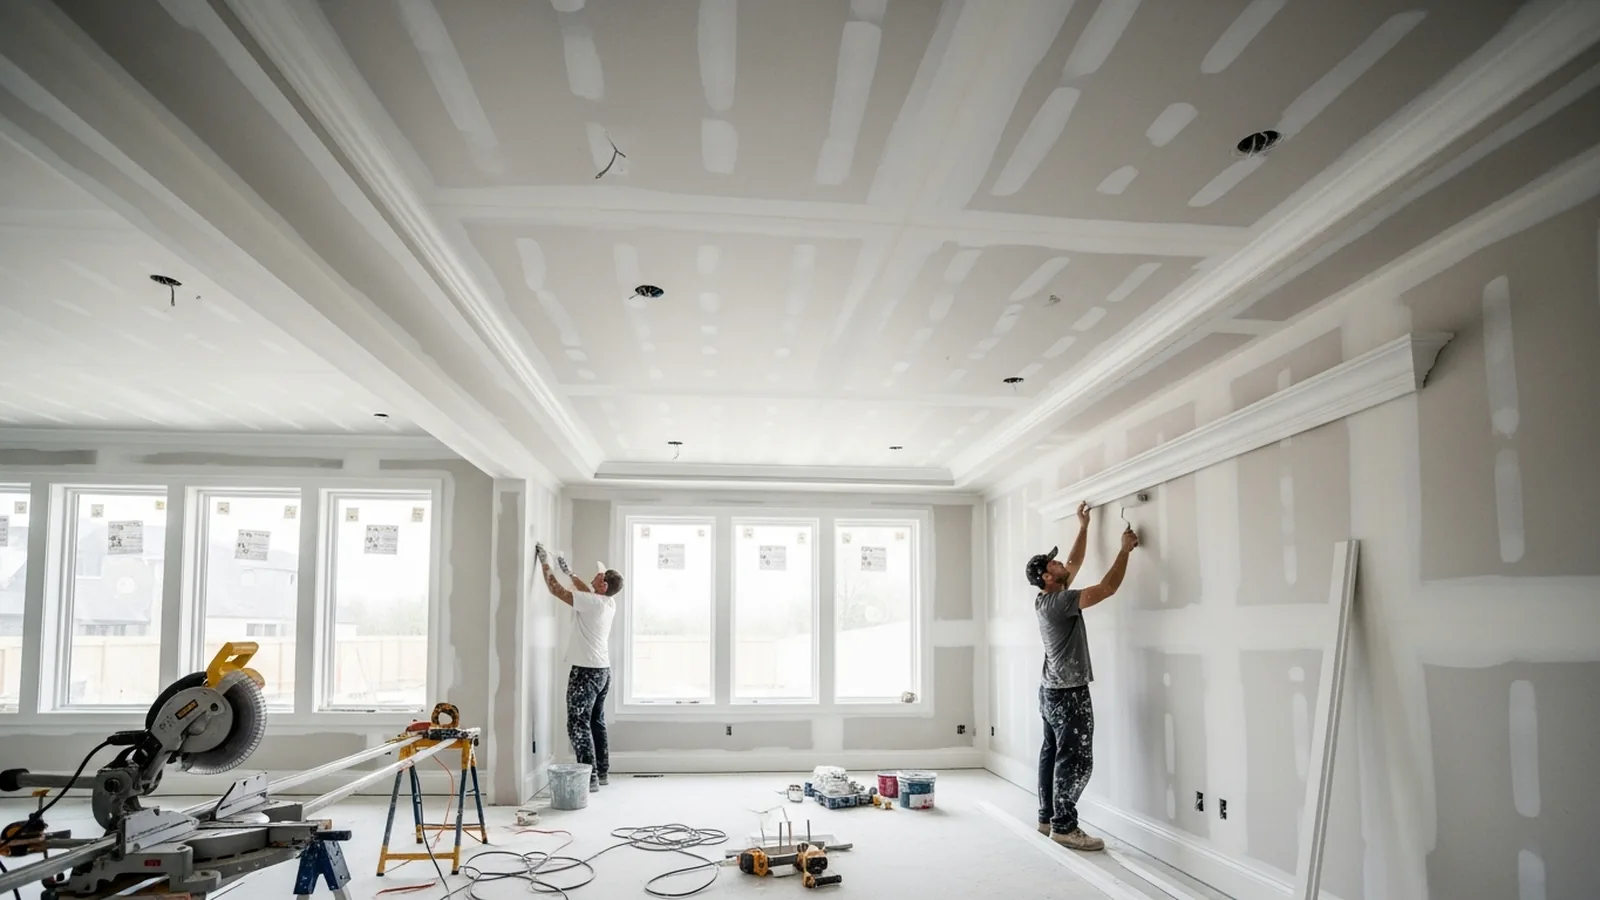
Interior Finishing for Contractors: The Complete Drywall, Paint, and Trim Guide
Interior finishing is where your project goes from bare studs to a space your client can actually picture living in....
Read More →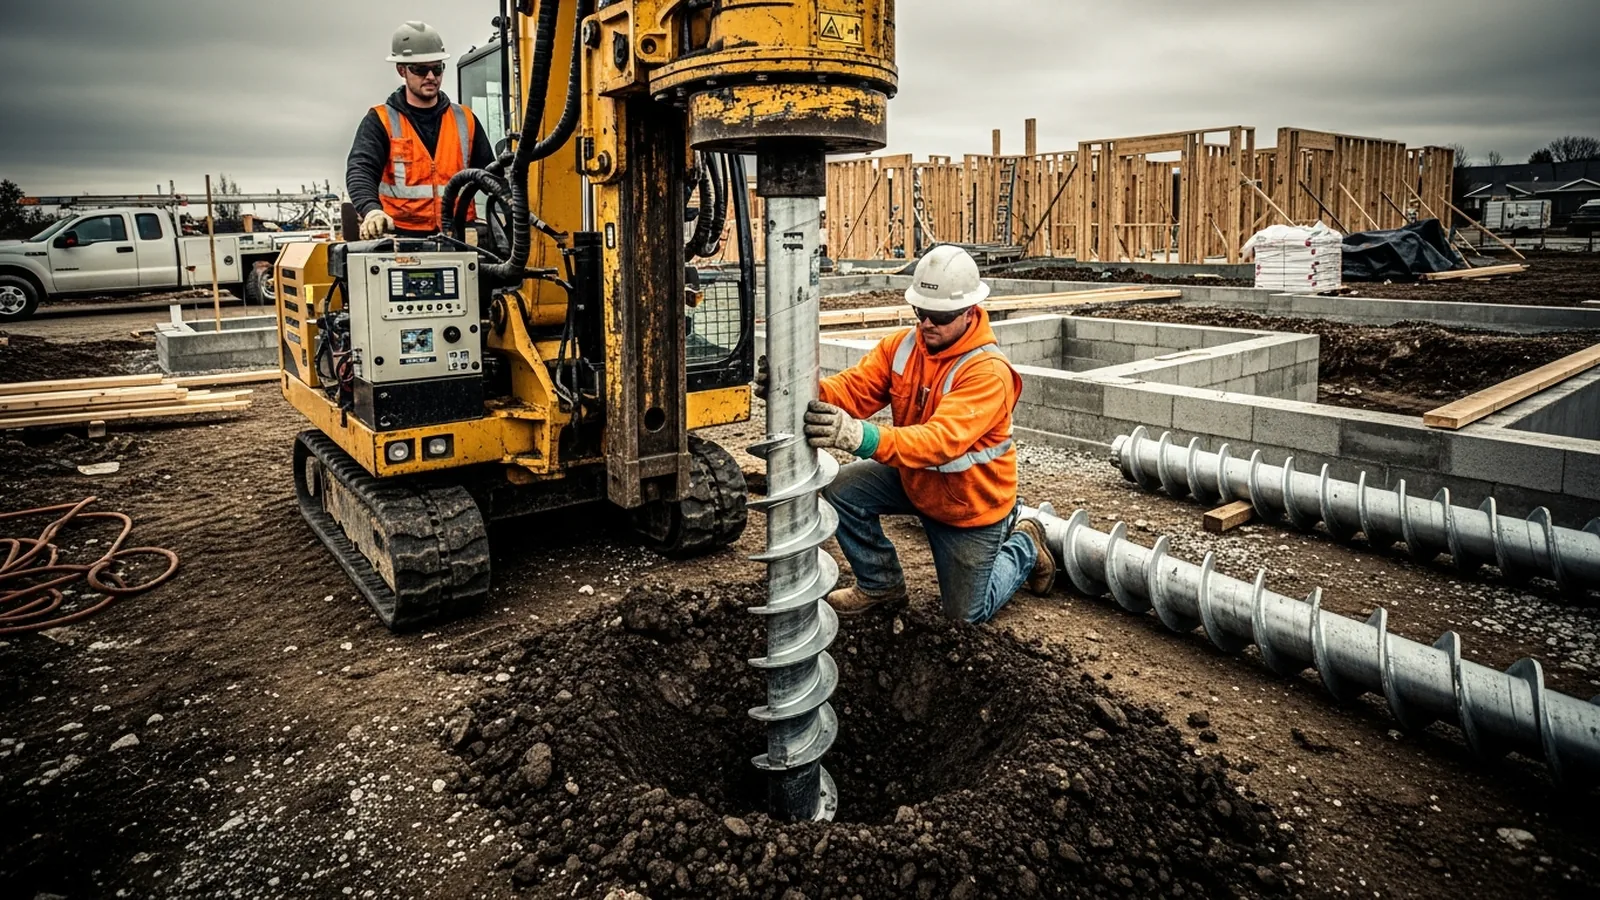
Helical Piles and Screw Foundations: The Contractor's Complete Guide
Helical piles are showing up on more and more project specs. This guide covers everything a contractor needs to know...
Read More →