Solar Panel Installation for Commercial Buildings | Contractor Guide | Projul
Commercial solar panel installation is one of the fastest-growing segments in the construction industry right now. If you are a general contractor or specialty sub looking to add solar to your services, or you have been hired to manage a commercial solar project, this guide covers everything you need to know from the first site visit to final commissioning.
We have installed solar on warehouses, office buildings, retail centers, and manufacturing facilities. The work is technical but straightforward once you understand the process. Let us walk through it.
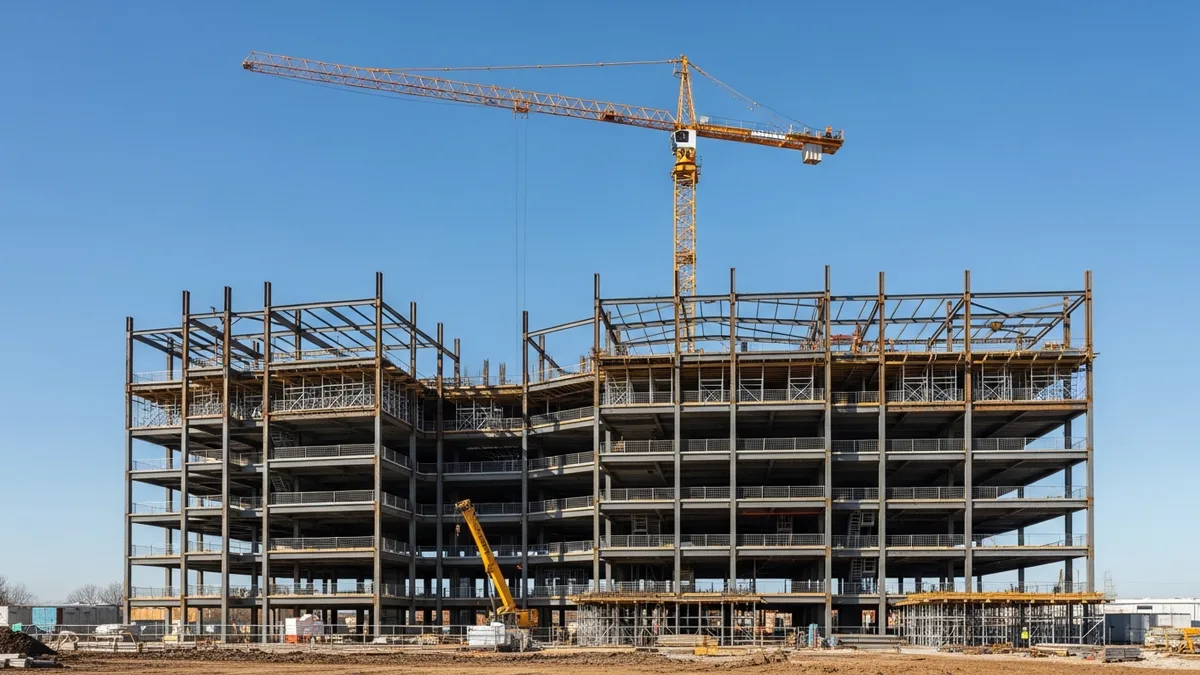
Structural Assessment and Roof Evaluation
Before you order a single panel, you need to know whether the building can handle the load. This is not optional and it is not something you eyeball.
Hire a structural engineer. Solar panels, racking, and ballast add 3 to 6 pounds per square foot to the roof. That might not sound like much, but on a 50,000-square-foot warehouse roof, you are talking about 150,000 to 300,000 pounds of additional dead load. The engineer needs to evaluate the roof deck, joists, columns, and foundation to confirm the building can take it.
Here is what the structural assessment should cover:
- Roof age and condition. If the roof is within 5 years of needing replacement, you should replace it first. Nobody wants to remove a solar array to fix a leaky roof.
- Roof type and material. TPO, EPDM, metal standing seam, built-up roofing, and concrete all require different mounting approaches. Check out our guide to built-up roofing and single-ply membranes for a deeper look at roof systems.
- Load capacity. The engineer will calculate existing dead loads, live loads, snow loads (if applicable), and wind uplift to determine remaining capacity for solar.
- Attachment points. Penetrating mounts require waterproofing. Ballasted systems avoid penetrations but add more weight. The engineer helps you pick the right approach.
If the building is older, pay special attention to the roof deck connections and column base plates. Corrosion, fatigue, and previous modifications can reduce capacity below what the original drawings show. The engineer should physically inspect the structure, not just review drawings.
One more thing: document the roof condition thoroughly with photos before installation begins. If there is a leak claim two years later, you want a clear record of what the roof looked like before your crew ever set foot on it.
Do not skip this step. A roof failure under a solar array is an expensive disaster that will follow your reputation around for years.
System Design and Equipment Selection
Once the structural assessment clears the building, you move into system design. This is where your electrical sub or solar design partner earns their money.
The design phase is where you lock in the system’s performance for the next 25 to 30 years, so getting it right matters more than getting it fast.
Panel selection comes down to efficiency, warranty, and budget. Monocrystalline panels are the standard for commercial projects because they produce more power per square foot. You will see panels rated between 400 and 600 watts each. Higher wattage panels mean fewer panels on the roof, which means less labor and fewer attachment points.
Inverter selection is just as important as panel selection. There are two main approaches:
- String inverters are less expensive and easier to maintain. They work well when the roof has consistent sun exposure with minimal shading.
- Microinverters or power optimizers cost more but maximize output when sections of the array get shaded at different times of day.
For most commercial flat-roof installations, string inverters with a central inverter location make the most sense economically.
Racking and mounting hardware depends on the roof type identified in your structural assessment. Ballasted systems sit on the roof membrane with concrete blocks holding them down. Mechanically attached systems bolt through the roof deck and require proper flashing. Rail-less systems reduce material costs but limit panel orientation options.
When you are putting together your estimate for the full project, having accurate material costs is critical. A tool like construction estimating software can help you build detailed takeoffs and keep your numbers tight across multiple solar bids.
Electrical design includes wire sizing, conduit runs, disconnect locations, metering, and grid interconnection specifications. Your electrical engineer or PE will stamp the plans. Most jurisdictions require stamped electrical drawings before they will issue a permit.
Permitting and Regulatory Requirements
Permitting for commercial solar is more involved than residential work. Plan for it to take longer than you expect, and build that timeline into your project schedule.
Building permits are required in virtually every jurisdiction. The building department wants to see structural calculations, electrical plans, equipment specifications, and site plans showing the array layout. Some municipalities have simplified solar permitting, while others treat it like any other commercial construction project with full plan review.
Electrical permits cover the solar array wiring, inverter installation, disconnect switches, and utility interconnection. Your licensed electrician pulls this one. Make sure they coordinate with the utility on meter and interconnection requirements before submitting.
Utility interconnection agreements are often the longest lead item in the permitting process. The utility needs to review your system design to make sure it will not cause problems on their grid. For systems over 25kW (which includes most commercial installations), expect an engineering review that can take 4 to 8 weeks.
Fire code compliance is something contractors overlook at their own risk. Most fire departments require setback pathways on the roof for firefighter access. The International Fire Code specifies minimum clearances from roof edges, ridges, and valleys. On flat commercial roofs, you typically need 4-foot pathways and access points.
Zoning and HOA restrictions can apply even to commercial buildings, especially in mixed-use areas or business parks with architectural guidelines. Check before you design.
Not sure if Projul is the right fit? Hear from contractors who use it every day.
Managing all these permits alongside your active projects gets complicated fast. Good construction scheduling software helps you track permit timelines, inspection dates, and milestone deadlines without letting anything slip through the cracks.
Installation Process and Best Practices
With permits in hand and materials on site, it is time to install. Here is the typical sequence for a commercial rooftop solar installation.
Phase 1: Roof prep and staging. Get your materials staged on the roof or in a secure area nearby. If the roof needs any repairs or modifications, handle those first. Set up fall protection and safety systems before anyone starts working near the edge. Review our construction inspection checklist guide for a thorough pre-work safety framework.
Phase 2: Mounting system installation. Whether you are setting ballast trays, drilling attachments, or clamping to standing seam, the mounting system goes in first. Take your time getting the layout right. Misaligned racking means misaligned panels, and fixing it later means pulling panels you already installed.
- On flat roofs, use string lines or laser levels to keep rows straight.
- Mark all penetration points before drilling. Double-check against the structural drawings.
- Apply flashing and sealant per manufacturer specifications at every roof penetration.
Phase 3: Panel installation. Panels go onto the racking once the mounting system is verified level and secure. This is the fastest part of the job if your racking is done right. A four-person crew can typically install 40 to 60 panels per day on a straightforward flat-roof layout.
- Handle panels carefully. Micro-cracks from rough handling reduce output and void warranties.
- Torque all mounting bolts to manufacturer specifications. Over-tightening cracks frames and under-tightening lets panels shift in wind.
- Install panel-level grounding as you go. Do not plan to come back for it later.
Phase 4: Electrical wiring and connections. Run DC wiring from the panel strings to the inverter location. Install conduit per code requirements. Connect inverters, install disconnects, and set up the monitoring system.
- Label every wire, conduit, and disconnect clearly. The inspector will check this.
- Test string voltages before energizing inverters. Open-circuit voltage should match your design calculations within a few percent.
Phase 5: Commissioning and testing. Power up the system, verify output, configure monitoring, and document everything. Run a full system test under load to confirm all strings are producing as expected. Walk the entire array and check for any panels that are underperforming compared to their neighbors. Thermal imaging cameras can spot hot spots and bad connections that visual inspection misses.
Create a commissioning report that includes system specifications, test results, as-built drawings, and equipment serial numbers. Your client needs this for their warranty documentation and insurance records. You need it for your own files in case questions come up later.
The whole installation process benefits from tight coordination between your roofing crew, electricians, and any equipment operators. If your construction budget tracking is dialed in, you will catch cost overruns before they eat your margin instead of discovering them at project closeout.
Safety, Insurance, and Risk Management
Commercial solar installation involves working at height on rooftops with electrical systems. The safety requirements are real and the consequences of ignoring them are severe.
Fall protection is mandatory. OSHA requires fall protection for any work at heights above 6 feet. On commercial roofs, that means guardrail systems, safety nets, or personal fall arrest systems. For most commercial solar work, a combination of warning lines and personal fall arrest near roof edges is the standard approach. If you are working with boom lifts or cranes for equipment staging, review our aerial lift and boom lift safety guide for specific requirements.
Electrical safety is the other big risk. Solar panels generate DC voltage as soon as sunlight hits them. You cannot turn them off. Your crew needs to understand that even during installation, exposed panel connections carry lethal voltage. Require insulated gloves, verify circuits are isolated before making connections, and never work on live circuits without proper lockout/tagout procedures.
Insurance requirements for solar work typically include:
- General liability with minimum $1 million per occurrence and $2 million aggregate
- Workers compensation covering rooftop and electrical work
- Professional liability if you are doing system design
- Completed operations coverage that extends at least 2 years past project completion
Some building owners and general contractors require additional insured endorsements and waiver of subrogation. Get your insurance certificates sorted out before mobilizing to the job site.
Quality control during installation prevents callbacks and warranty claims down the road. Document every phase with photos. Record torque values on critical connections. Test every string before covering junction boxes. A punch list mentality during installation beats a warranty claim mentality after commissioning.
Managing safety documentation across multiple crews and job sites is one of those tasks that eats up hours if you are doing it with paper and spreadsheets. Digital construction project management software keeps safety records, daily logs, and inspection reports organized and accessible from the field.
Financial Considerations and Project Management
Understanding the financial side of commercial solar helps you serve your clients better and protect your own margins.
Federal Investment Tax Credit (ITC) currently offers a 30% tax credit on the total installed cost of a commercial solar system. This is a direct dollar-for-dollar reduction in federal tax liability. Your clients will ask about it, so know the basics even though you are not their tax advisor.
Depreciation benefits through the Modified Accelerated Cost Recovery System (MACRS) allow building owners to depreciate the solar asset over 5 years. Combined with the ITC, the effective cost reduction can reach 50% or more of the installed price.
State and local incentives vary widely. Some states offer additional tax credits, rebates, or renewable energy certificates (RECs) that add more value. Research what is available in your market so you can speak to it during the sales process.
Contractor pricing and margins. Commercial solar is competitive, but well-run projects should target 15% to 25% gross margins. Your biggest cost variables are:
- Panel and inverter pricing (fluctuates with supply chain conditions)
- Labor hours per kilowatt installed
- Permitting and engineering soft costs
- Crane or equipment rental for rooftop staging
Track your actual costs against estimates on every project. If you are not using job costing tools to monitor labor and material spending in real time, you are flying blind on margins.
Project timeline management is critical because commercial solar projects have interdependencies that can cause cascading delays. Permit delays push back material orders. Utility interconnection timelines affect commissioning dates. Weather windows matter for rooftop work. Building a realistic schedule with buffer for these variables keeps your projects profitable and your clients happy.
Change order management comes up less frequently on solar projects than traditional construction, but it still happens. Roof conditions that differ from the assessment, utility requirements that change during review, or building owner requests for system modifications all generate change orders. Document everything and get approvals in writing before proceeding.
For contractors managing multiple solar projects alongside traditional construction work, keeping everything organized is the difference between profitable growth and chaotic overextension. A platform like Projul gives you scheduling, estimating, job costing, and team communication in one place so you can scale your solar division without losing control of your existing business.
Payment structure for commercial solar projects usually follows a milestone-based schedule. A common breakdown is 10% at contract signing, 30% when materials arrive on site, 30% at substantial completion of installation, and the final 30% after commissioning and utility permission to operate. Adjust these percentages based on your material costs and cash flow needs, but avoid front-loading too heavily or your client will push back.
Warranty obligations are something you need to understand clearly before signing any contract. Panel manufacturers typically offer 25-year performance warranties, and inverter manufacturers offer 10 to 15 years. Your workmanship warranty should cover installation defects for at least 5 years. Make sure your contract language clearly separates equipment warranties (manufacturer responsibility) from workmanship warranties (your responsibility) so there is no confusion when a service call comes in.
Ready to stop guessing and start managing? Schedule a demo to see Projul in action.
Commercial solar installation is a strong addition to any contractor’s service offerings. The market is growing, the margins are solid, and the work is predictable once you build your processes. Start with smaller systems to learn the workflow, build relationships with good electrical subs and structural engineers, and invest in the right project management tools to keep everything running smoothly. The contractors who figure this out now will own the market for years to come.